
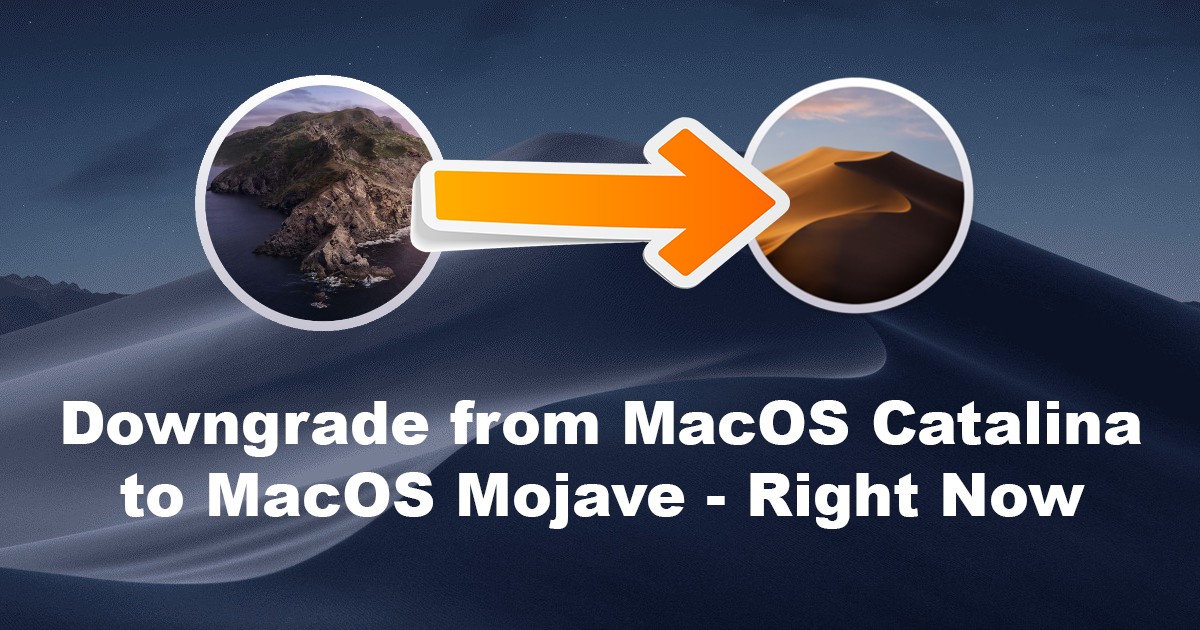
How to Downgrade from MacOS Catalina to MacOS Mojave – Right Now
You didn’t enjoy with MacOS Catalina 10.15, as you know, MacOS Catalina is the latest version of MacOS which includes many cool features that are handy for you. However, you upgrade from MacOS Mojave to macOS Catalina to test and get the experience of it but you might face problems and you want to Downgrade from MacOS Catalina to MacOS Mojave again. or you might not handle MacOS Catalina because of such issues that it has in beta version, Therefore, in this article, I will guide you on how to downgrade from MacOS Catalina to MacOS Mojave right now.
Related Article: How to Downgrade from MacOS Mojave to MacOS High Sierra
Downgrade from MacOS Catalina to MacOS Mojave
To downgrade from MacOS Catalina, there are some steps and reasons that I will discuss in this article and will let you know each and everything. No one feels great to downgrade from any operating system to others because they will take such action when they are not happy and they cant enjoy that operating system. as you can downgrade from MacOS Mojave to MacOS High Sierra, So, the same thing you can do with macOS Catalina. Therefore, to downgrade from macOS Catalina is not a big deal, here, I will show you step by step with details.
Why do you need to Downgrade to MacOS Mojave?
Everyone has their own issues and problems with the operating system, However, MacOS Catalina is not a bad operating system, Although Catalina is the best and it includes many cool features. but, might be users face problems with MacOS Catalina beta version, However, the beta version has some issues. or they cant know how to use MacOS Catalina and they don’t have a clue about its features. So, this is what people want to downgrade from Catalina. Therefore, if you are facing problems with MacOS Catalina and you want to go back to Mojave then read this article till the end.
Why Should I Downgrade to MacOS Mojave?
The best answer to this question is that MacOS Mojave is the best operating system and it has the most useful features which are easy to use. Furthermore, Mac user can use Mojave easily rather than MacOS Catalina because they don’t know about Catalina features and its usage, therefore, they prefer to downgrade to Mac OS Mojave. However, MacOS Mojave is a well-known operating system and every user knows well how to use it. So, to downgrade from MacOS Catalina to macOS Mojave is not a bad decision and you can do it easily with some steps.
Step 1: Back-Up your Mac
To remove MacOS Catalina from your desktop, this will erase all your files and data from the hard drive whether you are working on or you save it because deleting MacOS Catalina removes everything from the device. such as documents, files, Games, Applications, and etc. Therefore, to not lose your data you need to create a backup first. However, you can create a backup through online by using Icloud, OneDrive or DropBox as well as offline with an external drive of sufficient space. Once you have created a backup of your Mac then you can proceed to the next step.
Step 2: Create a bootable drive of macOS Mojave
To downgrade From Catalina you have to create an installer drive for MacOS Mojave because without installer drive you cant remove MacOS Catalina and you cant reinstall MacOS Mojave. However, this step is the most important procedure to delete installed MacOS Catalina. Therefore, before going to remove MacOS Catalina you have to create a bootable USB drive of MacOS Mojave. SO, go to Mac App Store and download MacOS Mojave into an external drive. after creating a bootable USB of Mojave then you can go to the next step.
Related Article:
- How to install MacOS Catalina 10.15 on Virtualbox on Windows
- How to install MacOS Catalina on Vmware on Windows
Step 3. Remove MacOS Catalina 10.15 from your Mac
Now, you have to erase your hard drive to reinstall macOS Mojave but make sure, you have created a backup of your Mac.
- Turn on your Mac computer and connect it with the internet.
- Now, click on the Apple logo from the top left corner of the desktop.
- Click Restart in the menu.
- In this step, hold down Command + R and keep holding keys until your Mac computer reboots. this will put your computer to the recovery mode.
- Next, click on the Disk Utility from the OS X Utilities selector.
- Click Continue at the bottom.
- Now, select the Startup Disk.
- Open the Erase tab from the top center of the window.
- Type the file name you want to delete (like MacOS Catalina)
- Click on format list and select Mac OS Extended (Journaled), if you’ve Mac with HFS+. Or select ‘APFS’ if you’ve Mac with APFS.
- Here, if Scheme option is available then select GUID Partition Map.
- Click on the Erase, this will start deleting the macOS Catalina from your Mac.
- Wait to complete the process.
- Once the process is done, then open the dropdown menu from the top left corner of the window.
- In the last step, select Quit Disk Utility to return to the OS X utilities.
This is all about deleting MacOS Catalina from your Mac. So, now you have to do the last step which is to reinstall macOS Mojave, therefore, follow the below steps.
Step 4: Re-Install MacOS Mojave on your Mac
After you have done with all steps, then, here you will reinstall MacOS Mojave on your Mac.
Note: If your Mac computer comes with macOS Mojave installed, then you can easily install it by pressing and holding Shift + Option + Command + R buttons. if not then follow below instructions.
- Make sure your Mac computer is connected with the internet.
- Insert the bootable USB drive you made in step 2 to MacOS Mojave.
- Restart your Mac.
- Now, press and hold down the option key to go to the Startup Disk Selection screen.
- Now, select the bootable USB drive of MacOS Mojave from the option list, this will start the installation of MacOS Mojave.
- Click Continue on the installation window.
MacOS Mojave will install with the standard update, therefore, before the software reboots on your Mac you have to agree to the license and terms. Moreover, wait for the installation process, once it has done, then you can use the MacOS Mojave.
Related Article:
Conclusion
That’s all about How to Downgrade from MacOS Catalina to MacOS Mojave, therefore, with some steps, we have done the downgrading of macOS Catalina. So, if you get any question and confusion then feel free to ask me in a comment box, moreover, if you like our article, So, don’t forget to give your feedback.
Thank You for your article; its bringing me closer to solution. Catalina crippled my VMWare Fusion
XP installation and disconnected my University provided Microsoft Word privileges. Unfortunately, I proceeded before I read your article and now have (2) hard drives named “Macintosh HD” because I used Time Machine Backup to roll back to Mojave from Catalina. Now Time Machine generates an error because it sees the (2) identically-named hard drives named Macintosh HD. How do I remove the “extra” one, and recover the hd space from the deleted drive? Please advise. Thank You in advance for your help.