How to Roll Back A Driver in Windows (10,8,7)
If you had Windows 8 and you updated to Windows 10 but the way you want windows 10 to work but it is not working or it might have sound problems, graphics problems, or any other issues. as you know Windows 10 is the latest version of Microsoft and it has some cool features but you don’t want to go with it and you want to go back to previous Windows version then you are in good place because in this article I am going to show you How to Roll Back A Driver in Windows 10,8,7.
However, you have the best way to uninstall Windows 10 or go back to the previous version then in Windows you have a good feature called Roll Back Driver. this is available in Device Manager in any Windows version. Rolling back a driver will uninstall the current driver and then it will install the previous driver automatically.
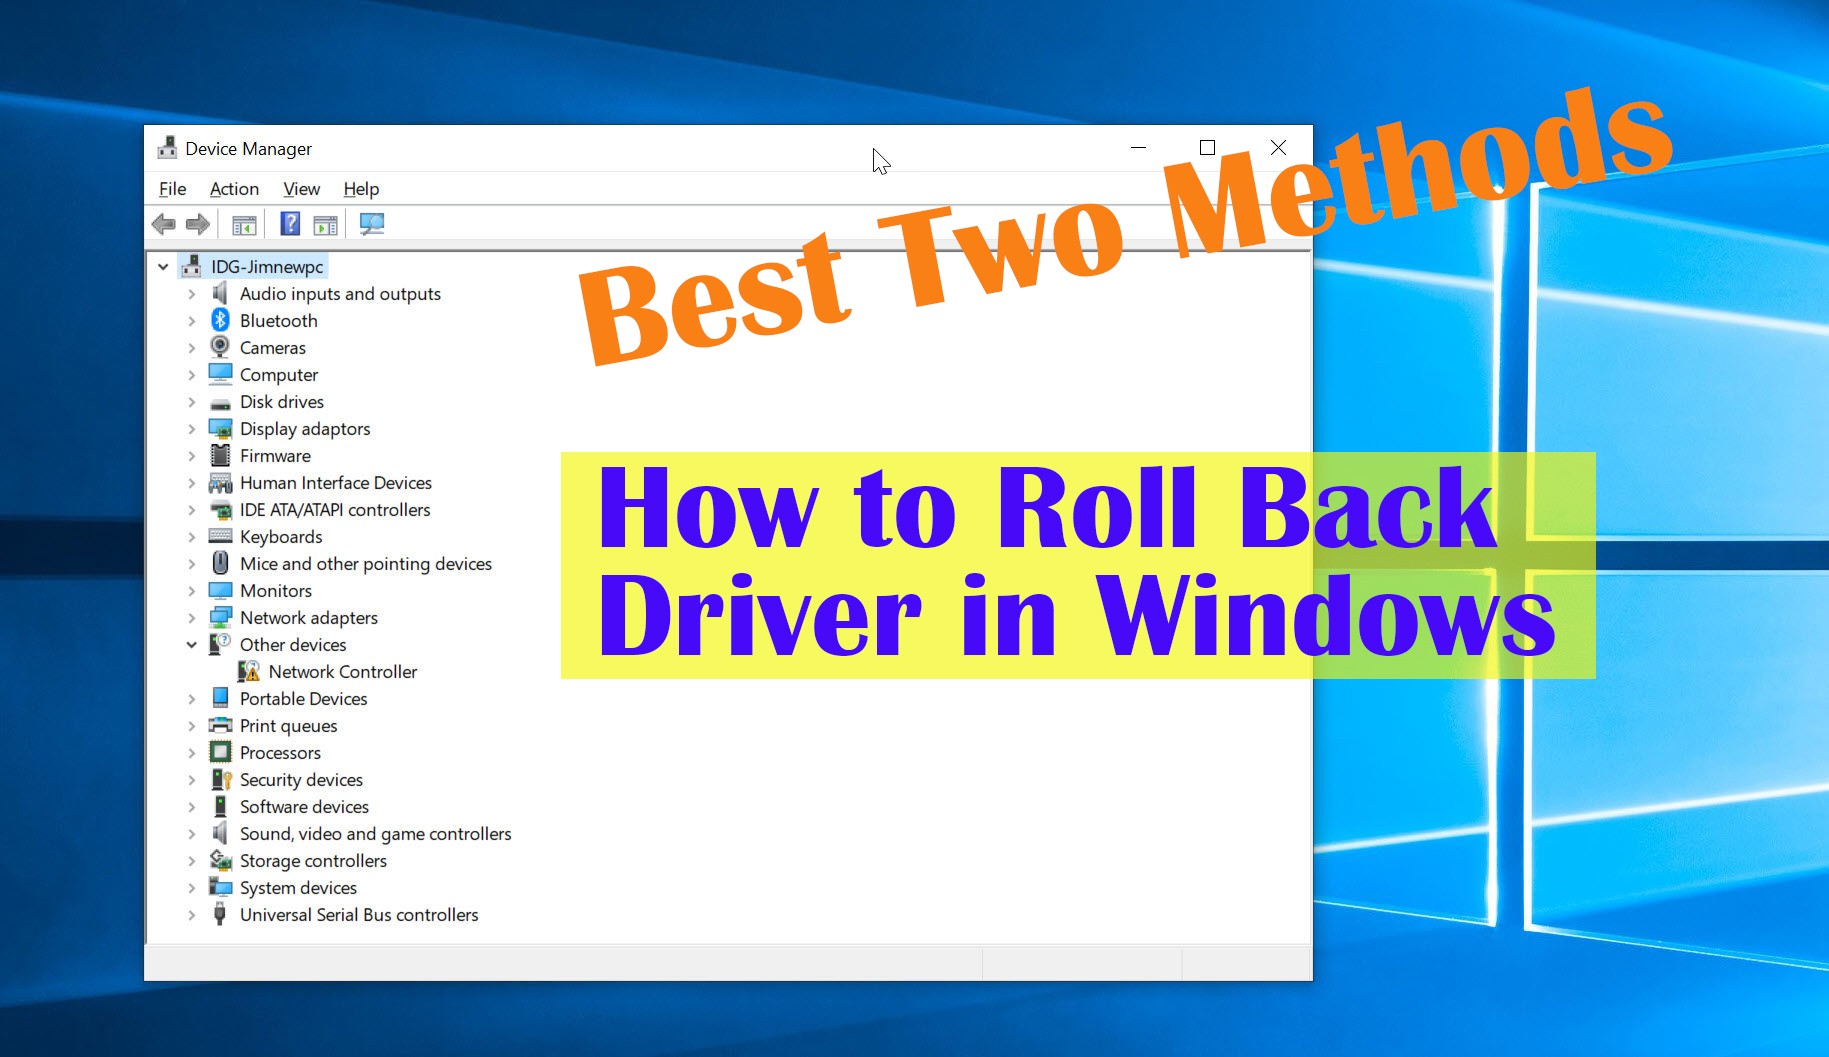
Although Windows 10 users can updates the driver to improve the performance and to solve the bugs and issues that Windows 10 has. but Windows 10 is the best version and it has many cool changes like changing the taskbar icon style, color, and many other things. However, I like Windows 10 new May 2019 update which released in May and it has tons of features. Moreover, it is your wish to roll back and install the previous windows or stay to the current version.
How to Roll Back A Driver in Windows 10,8,7
Whether you are using Windows 10,8,7 any windows version but you can roll back easily to the previous version and roll back to the driver in Windows 10 then follow the below steps and this method is the best one and it will work on any windows version.
Step 1: Open Start Menu from the left bottom windows or press Win key on the keyboard.
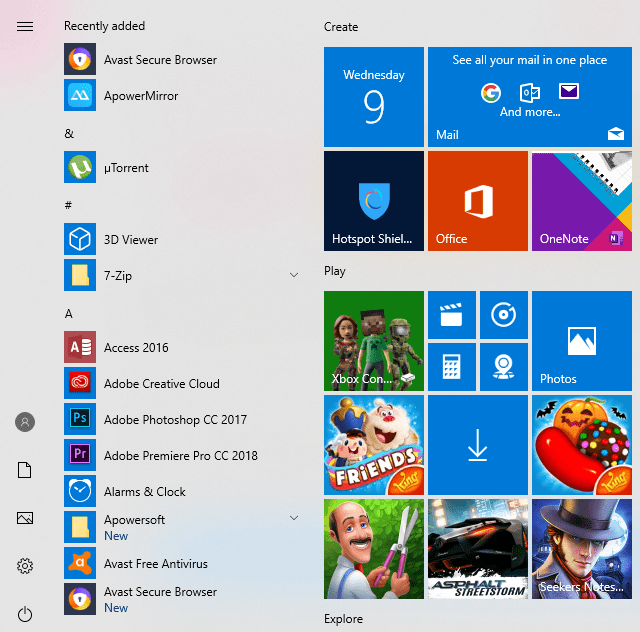
Step 2: Now you are in the Start menu and here search for Device Manager and click on the first result and open the device manager.

Step 3: Expand the Display Adapters and double-click on NVIDIA GeForce 840M.
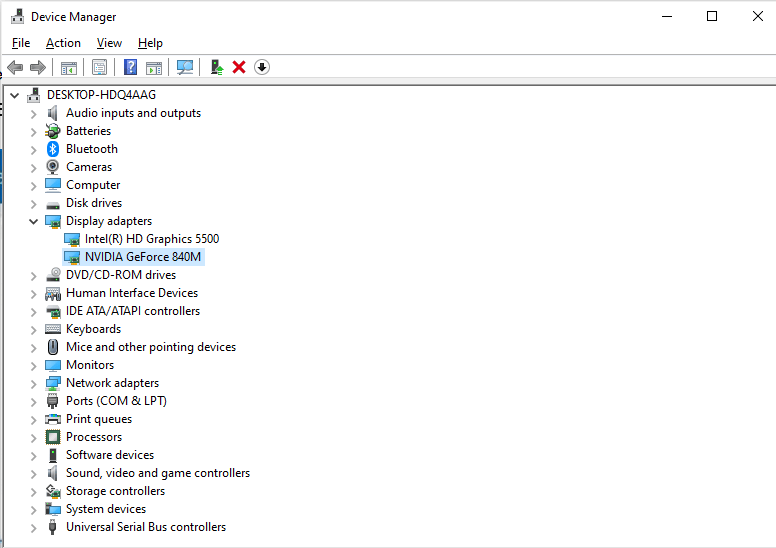
Step 4: Now, click on the Driver option.
Step 5: To roll back to the previous version simply click on the Roll Back Driver button. you can see the screenshot that my Roll Back Driver button is disabled but your one will be available.
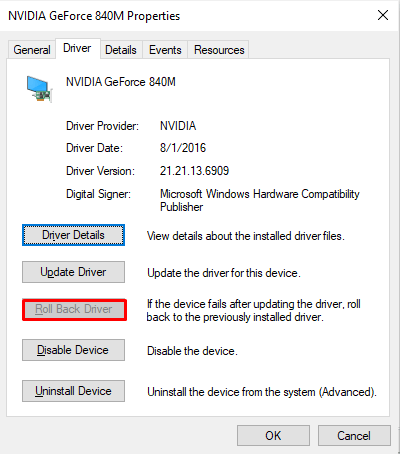
Step 6: Once you click the Roll Back button then you will have some options that why you want to Roll Back to the previous version, therefore, select any option and click on the Yes button to confirm.
Step 7: At last Restart your computer and wait for a while to Roll Back a Driver to the previous version and it will install the previous windows automatically.
As you see my Roll Back Driver button is not available so if the Roll Back Driver button is not available for you then it means Windows 10 update doesn’t have any previous driver to roll back to. in this case, you have to uninstall the device and download an older version of the driver from your manufacturer’s support website. you might don’t know how to install a device driver on Windows 10, therefore, follow the instructions shown on website.
Or Try this Method
To Roll Back Driver you can apply both methods and the first one is easier then this one but if the first method won’t work for you then try this method. However, both methods are used to Roll Back Driver in Windows 10,8,7. Now follow the below steps.
Step 1: Open Start Menu and Click on the Setting button from the left side menu.
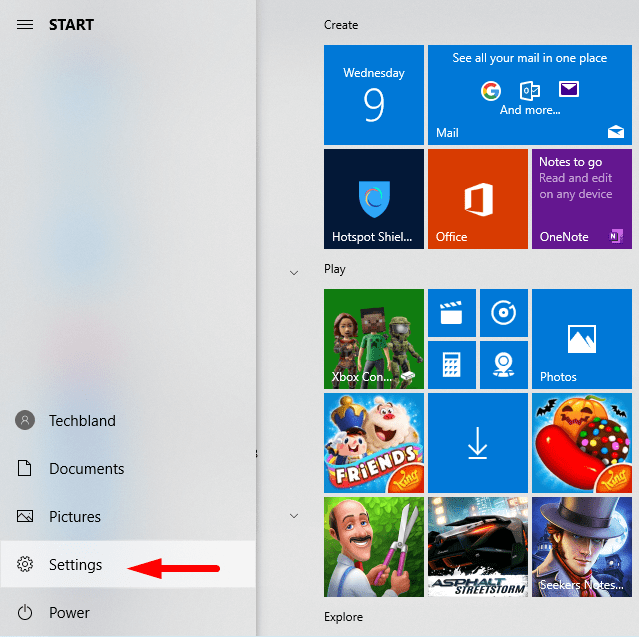
Step 2: Here, you will have several setting options but you have to click on Update & Security.

Step 3: After that, click on the recovery option and to Roll Back Driver click on Get Started button. if you didn’t see the Get Started button then it means you lose your opportunity because you have 10 days to Roll Back Driver.
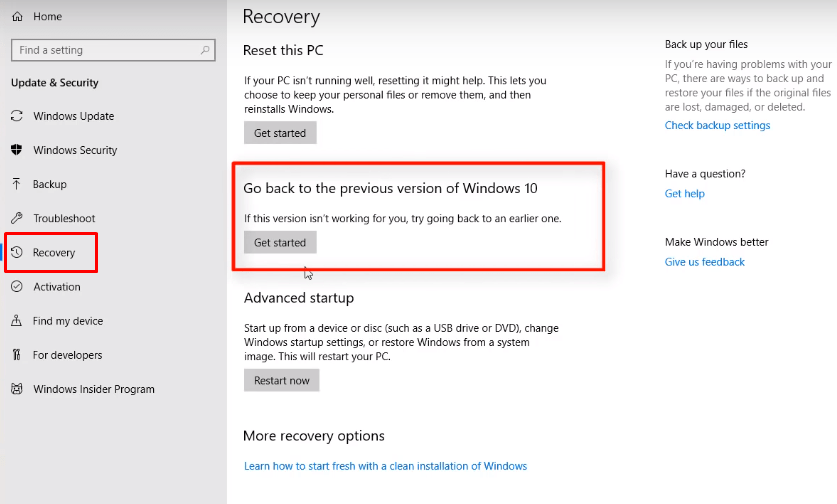
Step 4: Wait for a while to get things ready.
Step 5: Why you are going back to the previous version, so, select any reason and click on the Next button.
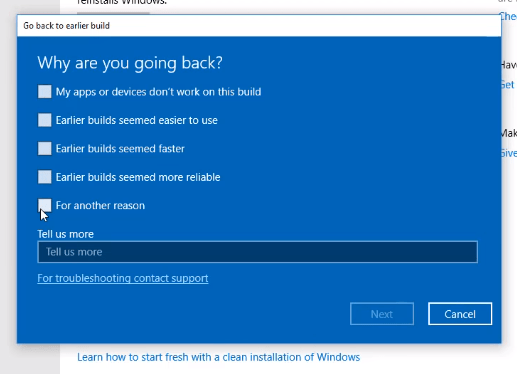
Step 6: Now, it will tell you to update your Windows 10 and it might fix the issues but here you have to click on NO Thanks button because you are going to Roll Back Driver.
Step 7: Before going to Roll Back Driver you have to know some important notes, therefore, read the notes and click on the Next button.
Step 8: Again Click on the Next button.
Step 9: After that, click on the Go Back to Earlier Build button.
Step 10: Then, it will restart your computer and it will take a long time, therefore, be patient and wait for restoring your previous version of windows.
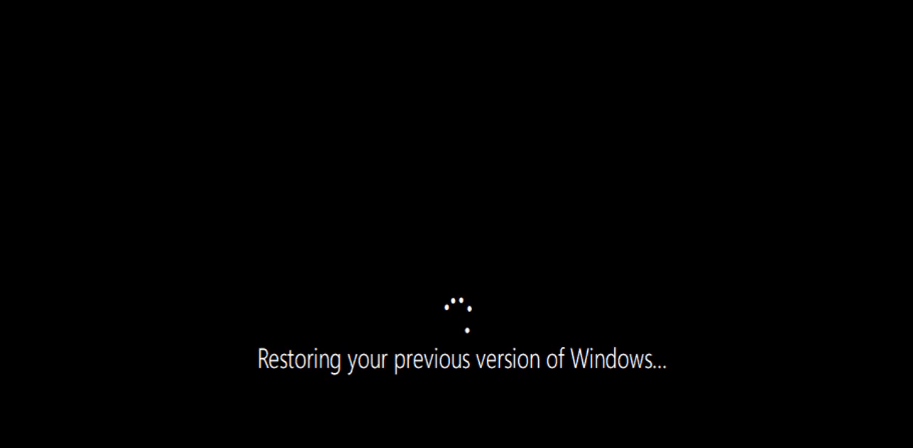
This is the method that helps you to Roll Back Driver in Windows 10 and finally, you are in your previous windows version.
Read Next:
Conclusion
That’s all about How to Roll Back A Driver in Windows 10,8,7 and you learn two methods and both methods will work for all windows versions. Therefore, follow these methods and if our article was helpful for you then give your feedback and if you get any question then feel free to ask me in the comment box.
