Think you are a Youtuber or you are someone that shares something’s instructions to your friends or etc. Perhaps, you want to record whatever is happening on your Mac screen. Or instead of downloading a video, you want to make a record and save it on your computer. In all this case, the screen recorder can be handy for you to screenshot or record your Mac screen.
Take heed, you are not the only person looking at how to record your screen on a Mac. No matter which Mac version you have or which Mac operating system you are running. Because there are several Screen recorders for Mac that can record your entire screen or selected part of your screen. However, the Mac has its own built-in options like QuickTime Player and Screenshot that lets you record your Mac screen.
But, Mac’s built-in options don’t let you record internal audio. In case, you want to record the audio on a Mac then you need to download a third-party application like Soundflower. Remember, there are some apps like Apple’s built-in DVD Player that will block you from doing any screen recording.
So, you can record your screen using QuickTime Player and Screenshot using all the macOS versions like macOS Big Sur, macOS Catalina, and macOS Mojave. Although the latest Apple operating system is macOS Big Sur having 85+ features that are handy for you. So, in this article, we are using macOS Big Sur and we will do screen recording on macOS Big Sur.
Best Screen Recorder for Mac
As I mentioned, you have the built-in options that let you record your Mac screen. In case, you want to know which screen recorder is best for macOS Big Sur in 2020. Then, here I will mention the best recorder for the Mac screen.
However, you will find several screen recorder for your Mac. But, with which recorder you should go, we will guide you here. You can use (Camtasia, ScreenFlow, Movavi Screen Capture, Screencast Matic, Debut Video Capture Software), and many more.
These all software allow you to record the entire screen of your Mac, edit the record and save it to your computer. Besides that, you can record the selected screen area, wherever you want you can record the screen. The apps are free of cost and well-known in the 2020 market.
But, in this article, we will use the QuickTime Player and Screenshot options to do screen recording on the macOS Big Sur. However, the method we are using here will work for all the macOS versions.
How to record your screen on a Mac using QuickTime?
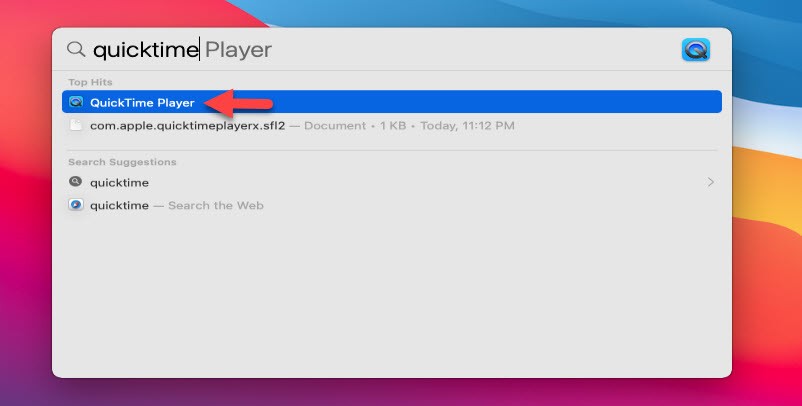
In the first method, we are going to use the QuickTime Player to record the screen on a Mac. Therefore, open Spotlight and search for QuickTime. Afterward, open the QuickTime recorder.
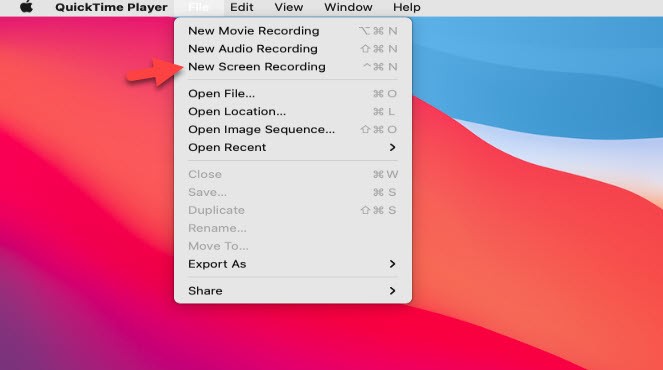
Once you open the QuickTime Player, then tap on the File option and click on New Screen Recording. After that, you will see the recording screen.
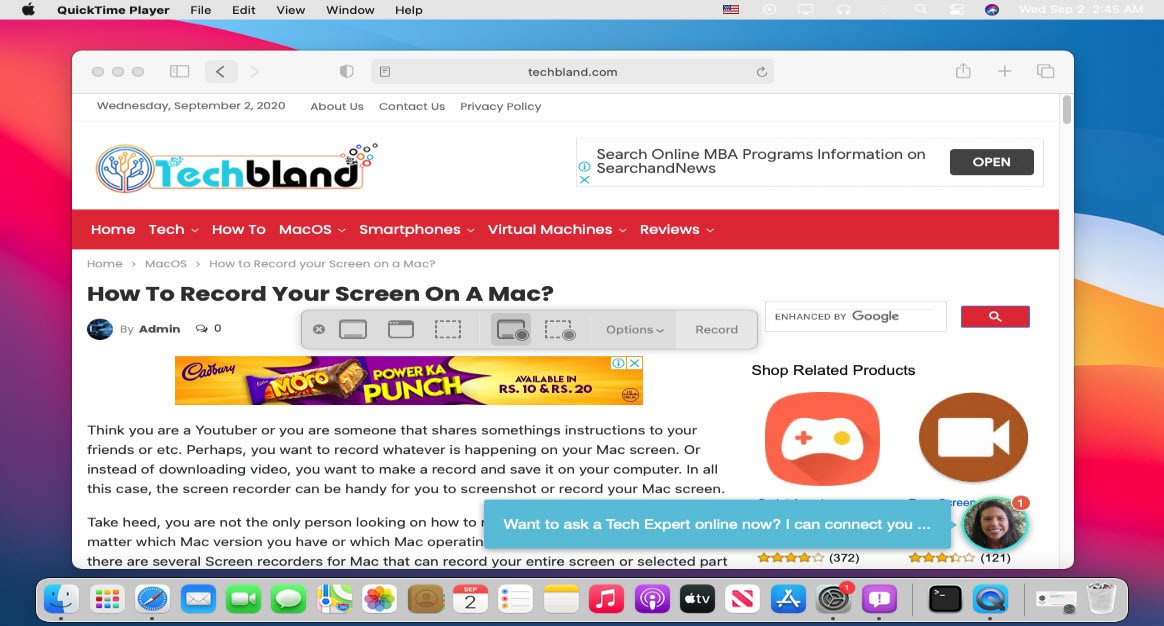
In the below menu section, you have several options to do with the QuickTime Player recorder. QuickTime Player provides you to capture the entire screen or selected portion. Moreover, it will allow you to record the entire screen or the selected portion. The choice is yours, just select the screen portion you want to record.
Once you are ready to start the recording, then click on the Record option from the below menu.
Once you are done with recording and you want to stop the screen recording. Then, click on the White circle icon from the top menu to stop the recording.

After that, the video will be saved in the location you set for the Screen recorder. Though you will see the video thumbnail on the right-bottom corner of the screen. My one is saved on the QuickTime Player folder. Mostly the video will be saved on the document folder or QuickTime folder. Anyhow, once you stop the recording then you can save, edit, or share it with social media or to your friends.
How to record your screen on a Mac using Screenshot?
Perhaps you don’t want to go with the above method and looking for another step to record your screen on a Mac. Therefore, here we will use the Screenshot recorder and this is the same with the QuickTime Player. The options are the same, but this one will provide you a Trim option in case you want to trim the video.
So, open the Spotlight and search for Screenshot and open it.
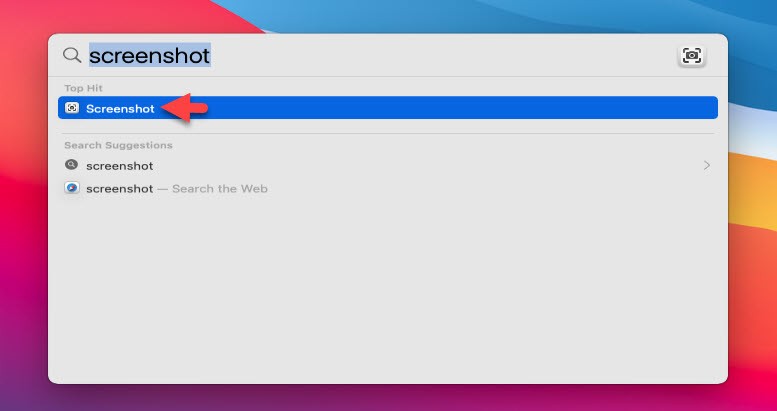
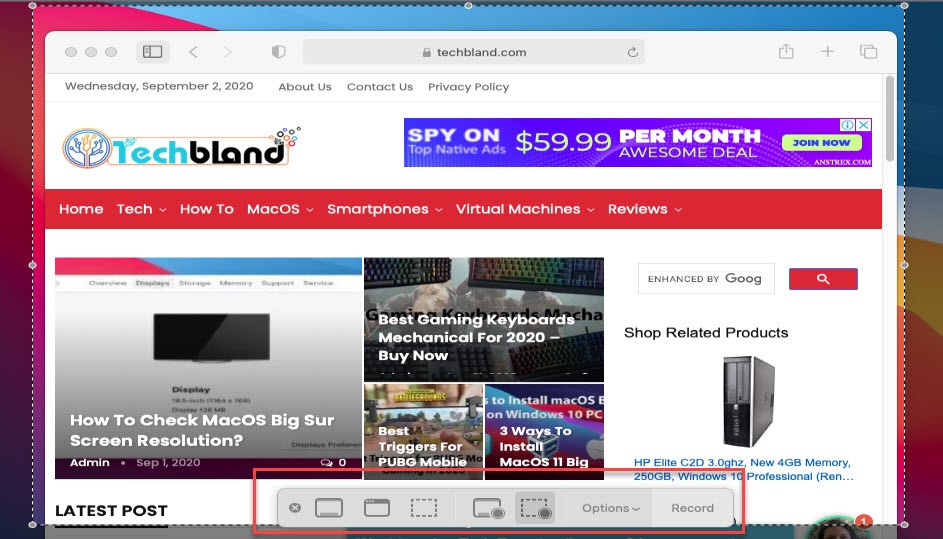
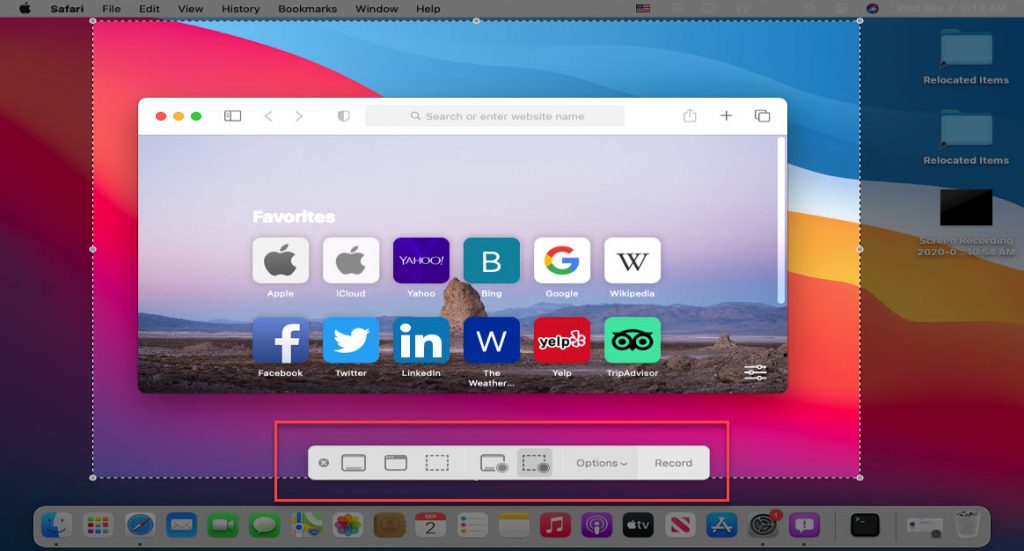
As I said, the Screenshot is somehow the same as QuickTime Player. But, in Screenshot, you have a trim option. Once you open the screenshot then you will see the below picture. Here, you can select the entire screen or the screen portion. Whatever you want you to have the option to do it.
In the picture, we have selected the screen portion. So, once you are ready then click on the Record button.
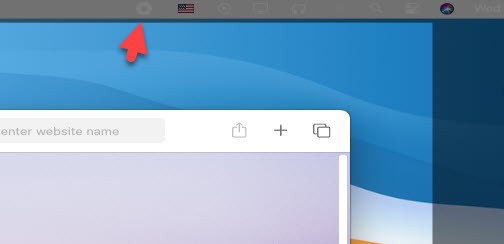
Once you are done with a recording then click on the White Circle Icon to stop the screen recording.
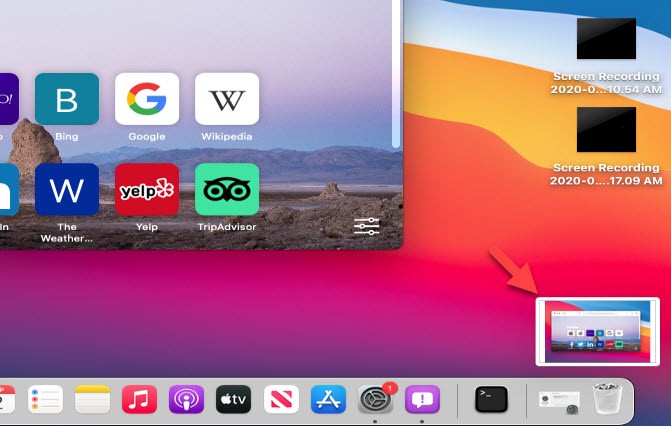
While you stop the screen recording then you will see the video thumbnail. Therefore, click on it to open the recorded video.
When you play the video then you will see the Trim option on the top-right side of the window. In case, you want to trim the recorded video, Then click on the trim option and trim the video then click the Done button.
Read Next:
- How to Check macOS Big Sur screen resolution
- Customize Control Center items in macOS Big Sur
- How to Use New Battery Settings in macOS Big Sur
Conclusion
Without the following screen recorder, you can use third-party applications to record your screen on a Mac computer. Each recorder has its own features and demands. But, on an urgent basis, you will need the QuickTime or Screenshot recorder to complete your project. Anyhow, the above methods will work for any macOS or Mac laptops.