In this article, we will guide you on How to Upgrade Your Mac to Latest macOS Big Sur. Let’s get started.
Apple’s latest iteration operating system Big Sur for macOS has arrived as a free software update for all users. Big Sur was announced as the direct successor to Catalina and brought a new design to go with the brand’s new ARM-based computers. This redesigned operating system includes major updates to refreshed Maps, Safari web browser, and Messages app.
macOS Big Sur was initially unveiled at Apple’s annual Worldwide Developers Conference in June 2020. At a special virtual event on Nov. 10 the same year, Apple revealed new Mac features including Apple’s MI chips running the latest operating system which is optimized to run on this machine. Apple’s executive revealed during the event that apps will run smoothly and faster, and there will be increased device security.
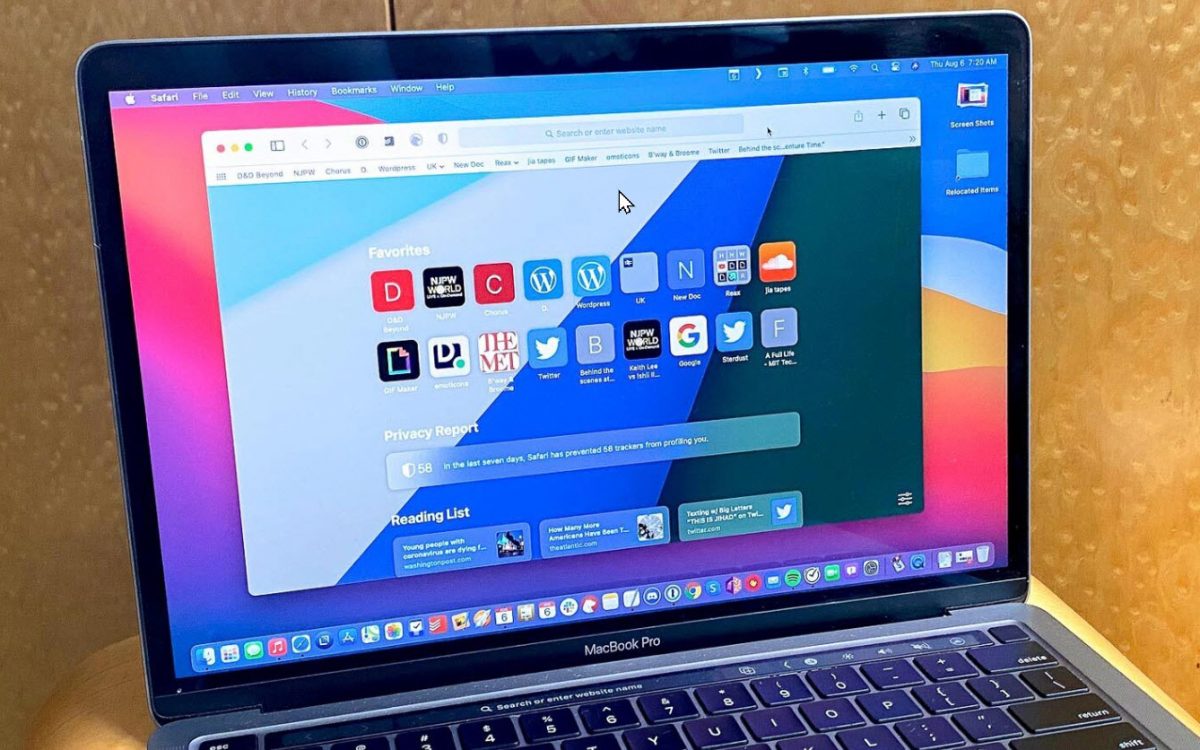
Meanwhile, Big Sur has a more stylish design than its predecessors which main focus is to ease navigation. Also, there are notable changes on Maps, Messages, and Safari, along with an iPad/iPhone like Control Center. Big Sur also offers Safari more powerful tabs, a customizable startup page, new web page translation options, and Privacy Report.
Initially, Apple launched Big Sur public beta in August which gave them enough time and much insight before the official software release. If you want to experience a Big Sur feature but aren’t ready to upgrade to the main one. But you should be aware that things might be unstable and mess with your existing apps. Meanwhile, here’s how to Upgrade Your Mac to Latest macOS Big Sur.
Check Compatibility
While Apple is introducing a new ARM-based fleet of Mac computers. That doesn’t mean you’ll have to buy a brand new computer right away. Many Macs are compatible with Big Sur, though not all. Here are the devices that’ll support the new operating system.:
- Mac Pro (from 2013 and later)
- Mac Mini (from 2014 and later)
- MacBook Air & Pro(from 2013 and later)
- MacBook (from 2015 and later)
- iMac (from 2014 and later)
- iMac Pro (from 2017 and later)
Back-Up Your Mac
Before you Upgrade Your Mac to Latest macOS Big Sur or any other software. It’s always advisable to backup your files first to avoid losing them. Meanwhile, if you have Time Machine set up installed on your system. You’re on the safer side as it’ll make an hourly backup for the past 24 hours, daily backups for the past month, and weekly backups for all previous months.
Fortunately, backups can be stored on an external drive. Another Mac system backup alternative is a dedicated backup service like iCloud that’ll save your data remotely. Once you have backed up all your files and data, you’re ready to install Big Sur.
How to Get macOS Big Sur
After backing up your files, the next step is to update your Mac. Once your Mac is compatible with Big Sur, it should notify you of a new software update available. Fortunately, all you’ve to do is to click on Install Now on the notification banner and allow Mac to do the rest.
However, if you want to check for an update, select the Apple icon on the top left corner of your system, then click on System Preferences > Software Update. Meanwhile, you can choose to download it from Mac’s official Big Sur website.
Your Mac desktop will check for an update. If there’s any available one, click Upgrade Now to go through the easy and fast installation procedure. However, some Macs will have to reboot before Big Sur is officially installed.
Sign Up For the Public Beta
Also, you can sign up for the Big Sur public beta version to get early insight on what the next-generation OS will look like which will eventually replace Big Sur. The public beta version is most often stable than the developer beta. But sometimes it fails to lack every feature that’ll be on the final official software.
Apple’s purpose in providing the public beta version is to give small users limited access to any glitches or bugs. That wasn’t noticed by them or its developers. To download the public beta, go to the beta website, scroll down the page, and click on Sign Up. Meanwhile, Apple will send a notification to you if it’s not yet available for download.
Join Apple’s Developer Program
Apple’s developer program is targeted to fans and app developers who want to ensure their products are always compatible with the latest updates. However, any user or fan who wants to have the latest software can sign up too. Meanwhile, be informed that this developer beta is an unfinished product, so many features or apps will not work or won’t be available at all.
If you’re an Apple fan and want to enroll in their developer program, the charge is $99 per year. This means you have to sign up one time to be able to download all the released OS updates down the line. Unfortunately, before getting signed up, you’ll need a verified Apple ID protected with two-factor authentication, and you must share some of your personal information.
Then you’ll be among the first to get access to new software versions as they arrive. If you’re using more than one Mac, it’s quite advisable to install it on your secondary device.
How to Customize Your Mac Desktop Using Control Center and Widgets
Apple’s macOS Big Sur combines iOS features with the computing benefits of Apple’s Mac lineup. With the launch of Big Sur, many iOS apps can run on Mac, it’s a perfect combination for both operating systems to look, work, and perform similarly.
Unfortunately, people are always advised to wait until all the tweaks are tried out before downloading new software. But who actually follows this advice? If you’re an active fan and have already installed macOS Big Sur.
You’ll discover that Apple has tricked out the Menu Bar, Control Center, and Notification Center Widgets to give you single-click access to all commonly used apps and features.
Customize Control Center
Sometimes, users forget where certain system settings are located. Going into System Preferences is fine, but macOS Big Sur makes it much easier by providing quick access to all your frequently and mostly used features just like they’re in iOS Control Center.
However, since Macs don’t support touchscreen, users can’t access macOS Control Center by dragging down the screen just like on iPad and iPhone. Fortunately, Apple has integrated a Control Center icon to the Menu Bar on the upper-right corner, so click on it to open.
Also, Apple has provided quick access to mostly used settings like changing the screen brightness, volume, Wi-Fi, and Bluetooth settings. Just like in iPad and iPhone, you can customize the Control Center to your taste by opening Systems Preferences and selecting Dock and Menu Bar.
Meanwhile, under the Control Center heading is a database of all the available settings that can be added to the Control Center. Click on a setting, and tick the “Show in Control Center” box to add it.
Organize the Menu Bar
Most Mac users dislike seeing a cluster of Menu Bar icons that normally appear in the upper right corner of their computer screen after installing an application. Apple has discovered the plight of their fans and added a feature whereby you can manage the Menu Bar just like in customizing the Control Center anyhow you want without any add-ons.
When you open the Control Center, drag and paste any specific feature to the Menu Bar. Also, you can perform this action by checking the “Show in Menu Bar” box in the Dock and Menu section of System Preferences.
Also, any icon you don’t like or feel is unnecessary can be altered and replaced with important ones. Meanwhile, you can reorder the Menu Bar icons by first holding the Command button while dragging icons to your desired positions.
Unfortunately, Apple makes some system icons permanent, which means they can’t be removed. Others can only be managed in that particular app’s Preferences settings.
Control Widgets
Similar to iOS, Big Sur widgets can be accessed through the Notification Center which can be located by clicking the time/date icon in the Menu Bar. Big Sur users use notifications to have a glance at the information that was sent to them. Meanwhile, it can be customized through widgets to know the suitable notification they’ll like to receive.
If you want to add or remove widgets, open the Notification Center, scroll to the bottom, and select Edit Widgets. All the currently available widgets will be presented to you. Also, there’s a search bar in the left column that you can quickly use to locate any specific widgets. The middle column displays the layout of the widgets where you can customize the size of widgets.
Read Next:
- Best Video Editing Software for Mac
- How to Factory Reset Mac and Windows
- How to update macOS Big Sur on Virtualbox
Conclusion
Undoubtedly, macOS Big Sur is currently the best operating system available. The newly designed Operating System is now available for installation to all Mac users. A whole lot of new customization features including Control Center, Organizing the Menu Bar, and Control Widgets, are enough features for you to upgrade to the latest OS.
On our macOS, Big Sur review is a guide on how to Upgrade Your Mac to Latest macOS Big Sur. You can follow up on our web page to get all the latest tech reviews.