In this article, I am going to guide you on How to Read and Write to NTFS Drives on a Mac with NTFS for Mac? As the default Microsoft Windows disk format, NTFS format is the most commonly used format in the world, having a fast access speed and a large volume size. However, macOS only gives read permissions to users rather than write permissions because of legal issues. That means you cannot add, delete, modify, or alter files on NTFS drives.
If you do a quick Google search about “how to write to NTFS drives” In Google, you will be suggested to choose one of the following options:
- Commercial third-party NTFS drivers – paid third-party NTFS drivers for Mac in the market are easy to install and have better performance than free solutions.
- Free NTFS drivers – open-source NTFS drivers are so complicated to install and operate, which require people to run command lines.
- Enable Apple’s experimental NTFS write support – we don’t recommend this method as it is quite technical and not officially supported by Apple.
As you can see, the first two methods are so tedious if you frequently need to write to an NTFS drive. Moreover, it is possible that you would face data loss disasters during trying out them. Thus, we highly recommend using a third-party NTFS driver, which is definitely the most reliable and safe way to write to NTFS drives.
Use the Best Paid NTFS Driver: iBoysoft NTFS for Mac
iBoysoft NTFS for Mac is one of the best NTFS drivers that provides blazing fast, unlimited read and write access to NTFS hard drives, external hard drives, SD cards, memory cards, USB flash drives, CF cards, etc. It guarantees you stable and fast files transferring speeds between Macs and NTFS drives while keeping your data intact. In our testing, the software does so up to six times faster than the competitors.
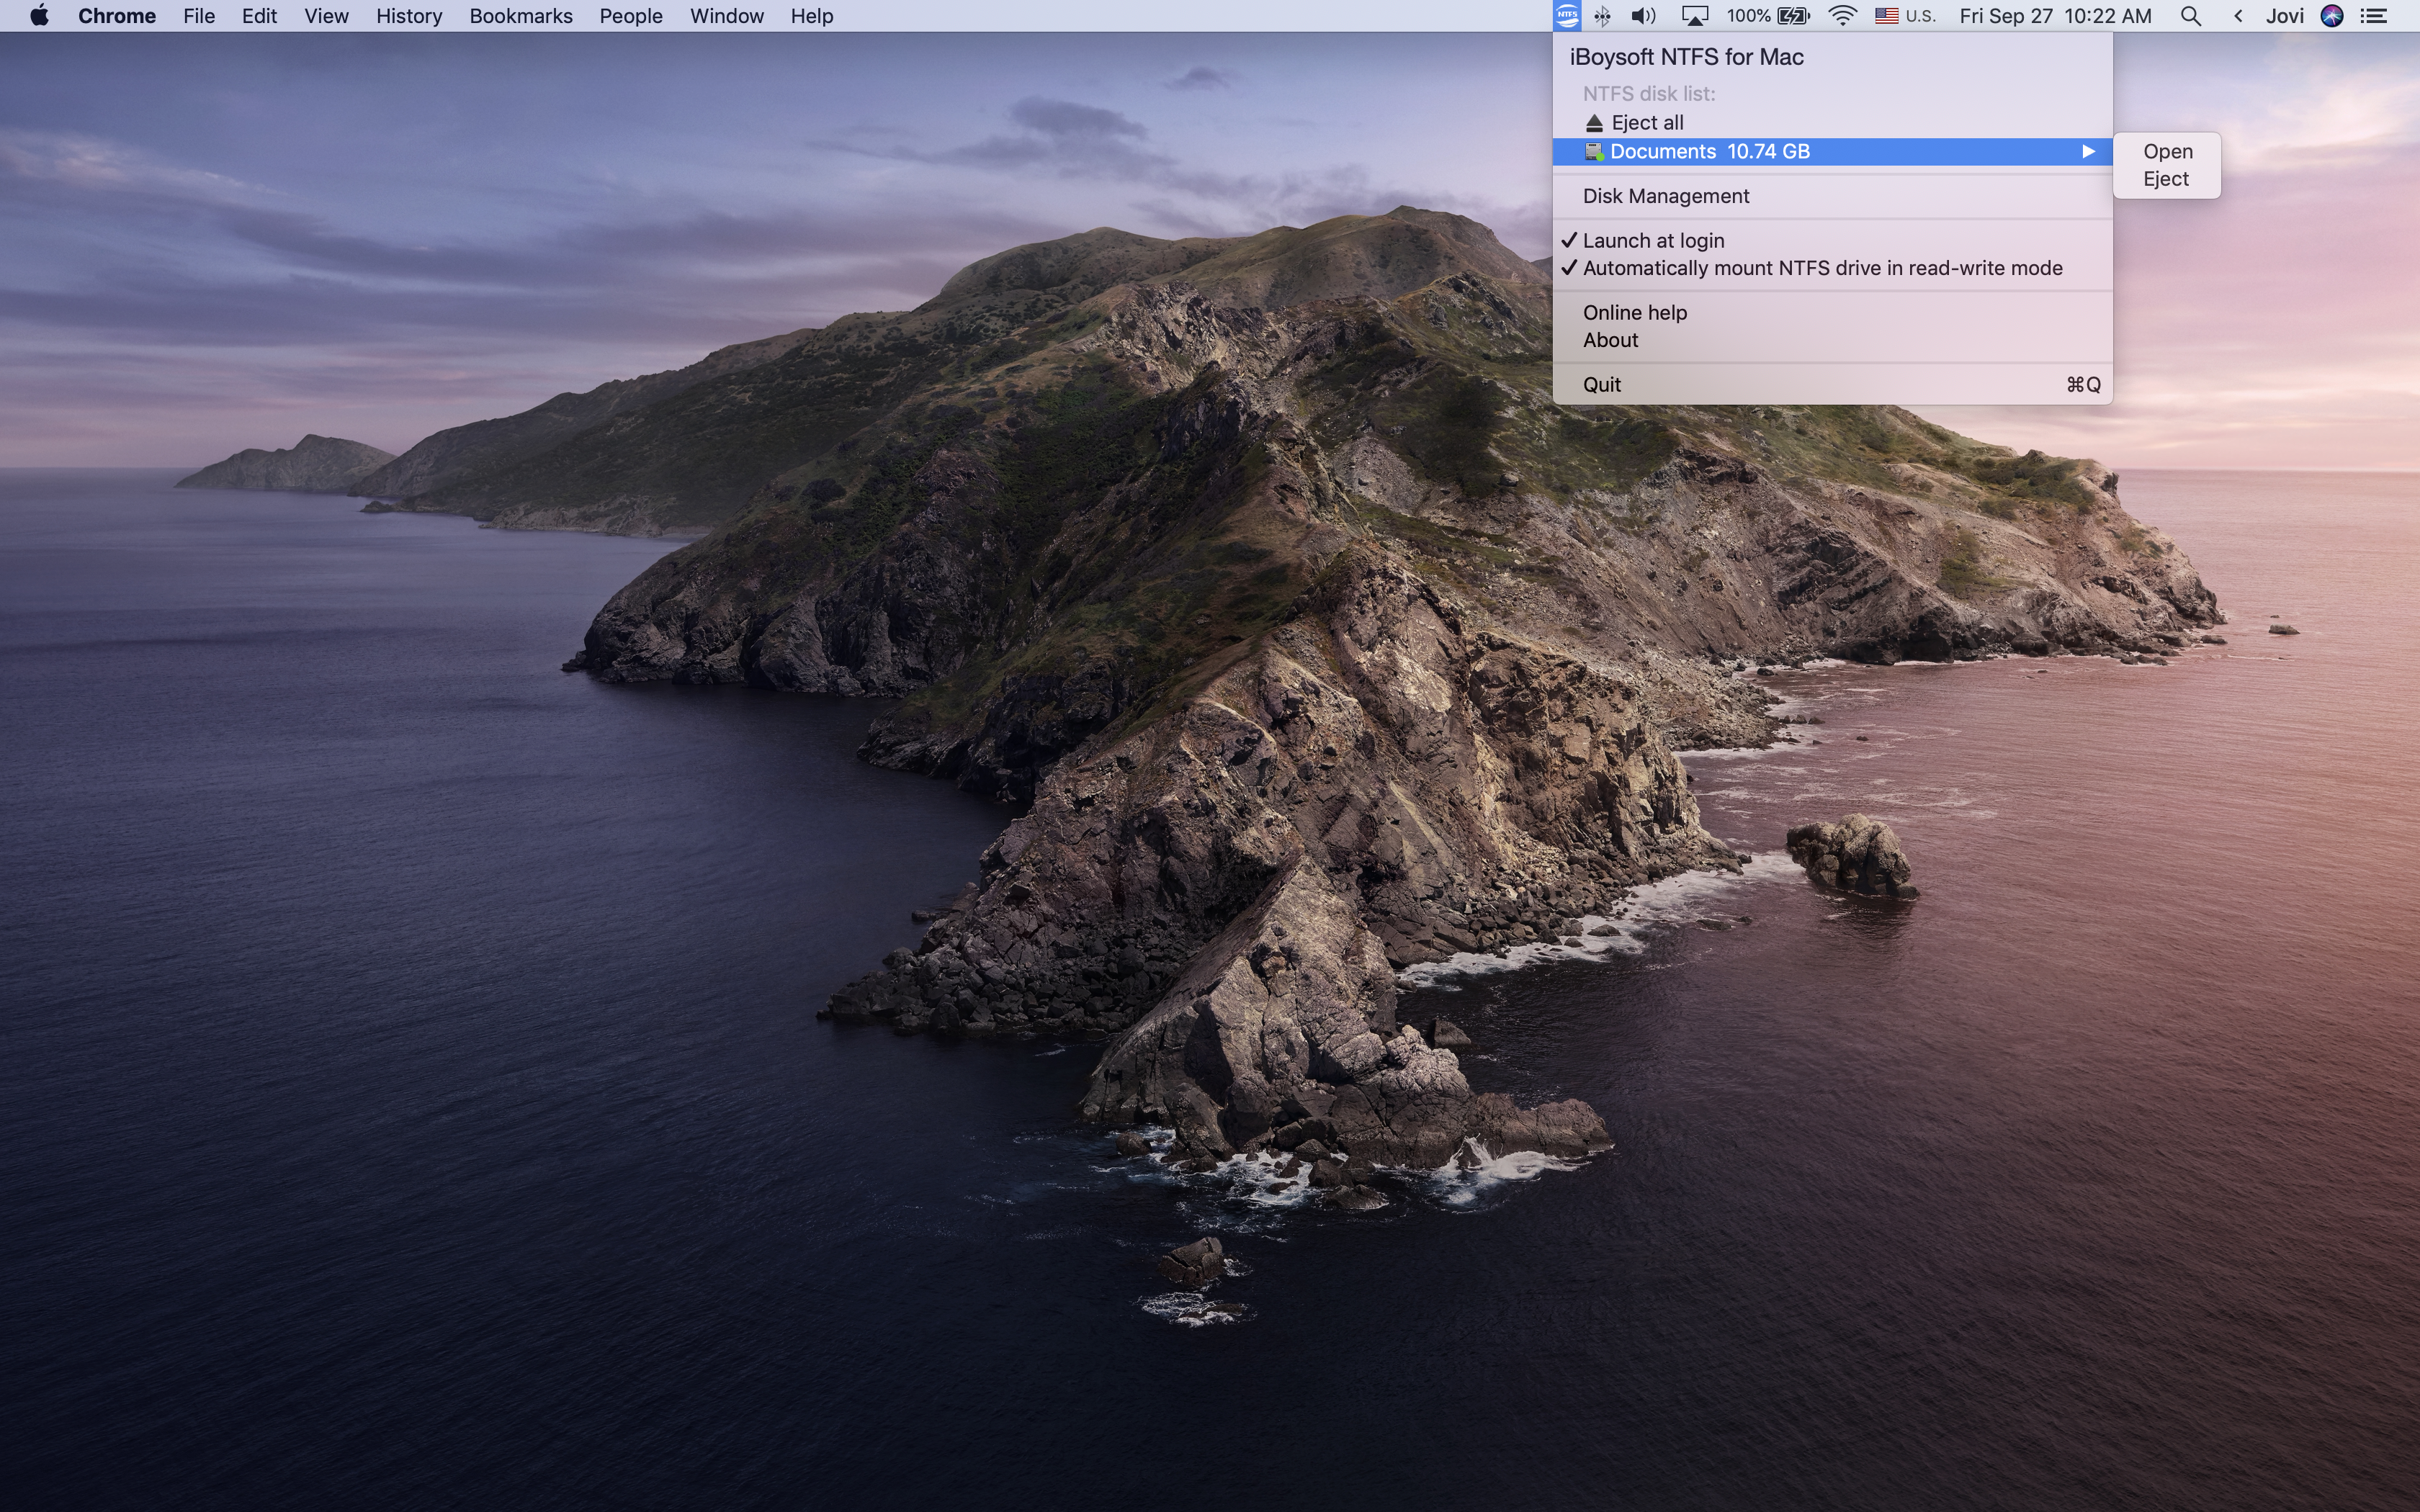
In addition, iBoysoft NTFS for Mac also works as a driver manager that can be used to view disk information, check integrity, repair corrupted volumes, unmount and erase a disk. You can quickly manage your connected disks by clicking the “Disk Management” option from the menu bar. Then you will see all physical and virtual volumes attached to your Mac. Choose one of the disks and then proceed to operate.
iBoysoft NTFS for Mac is one of few NTFS for Mac software that is fully compatible with the latest macOS 10.15 Catalina. It also runs perfectly on macOS 10.14/10.13/10.12 and Mac OS X 10.11/10.10/10.9/10.8.
How to Write to an NTFS Drive on Mac with NTFS for Mac?
Step 1: Free download iBoysoft NTFS for Mac and follow the wizard to install the software.
Step 2: Connect your NTFS drive to the Mac. When the drive is detected, it will be automatically mounted and open in Finder. After that, you can do everything with the files and folders it contains.
Super-simple, huh?
Use a Free NTFS Driver – Fuse for macOS
Fuse for macOS is the best open-source command-line program for writing to NTFS drives in macOS. But it is a command-line program and needs a good bit of work to install.
Step 1: Download FUSE for macOS from https://github.com/osxfuse/osxfuse/releases
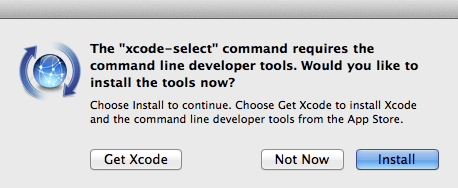
Step 2: Download and install Xcode command-line tools.
- Go to Finder > Applications > Utilities > Terminal.
- Copy and paste this command: xcode-select –install
- Click Install when the dialogue appears. Click Agree when the License Agreement appears. Once that’s done proceed to step 3.
Step 3: Download and install HomeBrew.
- Go to Finder > Applications > Utilities > Terminal.
- Copy and paste the command line:
/usr/bin/ruby -e “$(curl -fsSL https://raw.githubusercontent.com/Homebrew/install/master/install)”
Step 4: Install NTFS-3G for Mac. Copy and paste the following command line, then hit Enter.
brew install Ntfs-3g
Step 5: Disable SIP (System Integrity Protection). If you want to automatically mount NTFS drives in read-write mode, you need to disable SIP.
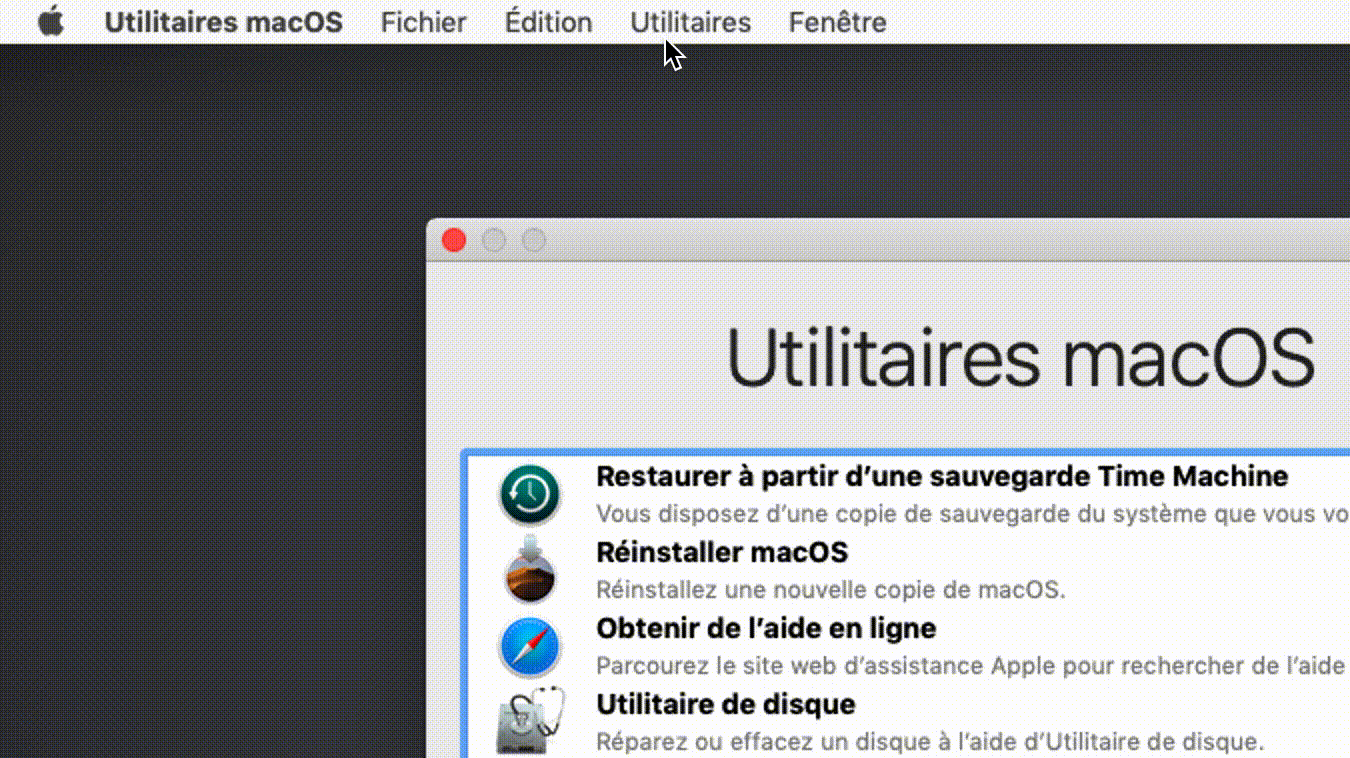
- Reboot your Mac and hold Command+R while it’s booting. The computer will boot into Recovery Mode.
- In Recovery Mode, open Terminal from the Utilities menu.
- Type in the command line: csrutil disable and hit Enter.
![How to Write to an NTFS Drive on Mac with iBoysoft NTFS for Mac?]()
MacOS utilitaires - Restart the Mac.
Step 6: Read and write to NTFS drives.
- Open Terminal again.
- Type in the following command line and hit Enter:
sudo mv /sbin/mount_ntfs /sbin/mount_ntfs.original
sudo ln -s /usr/local/sbin/mount_ntfs /sbin/mount_ntfs
Lastly, it’s highly recommended to re-enable SIP. Reboot your Mac and hold Command+R while it’s booting. Then launch a Terminal in Recovery Mode and run csrutil enable.
Enable Apple’s Experimental NTFS-Writing Support
NTFS write access can be natively enabled by running command lines. But please note that this solution is unstable and may not work properly. You must prepare for data corruption as well as data loss problems.
With this in mind, let’s proceed:
Step 1: Connect an NTFS drive on your Mac computer. Take note of the volume name as you’ll need it later.
Step 2: Go to Finder > Applications > Utilities > Terminal to launch Terminal.
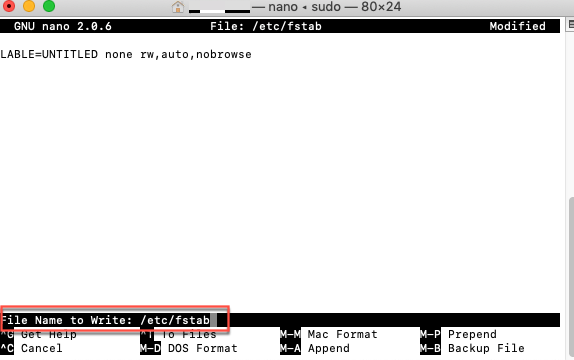
Step 3: Type in the following command lines and hit Enter. This will open the fstab file that is blank by default. (Type in the admin password if asked.)
sudo nano /etc/fstab

Step 4: Enter the following command. (Replace the VOLUME_NAME to the name of your NTFS drive or volume.)
LABEL=VOLUME_NAME none ntfs rw,auto,nobrowse
Step 5: Repeat Step 3 – 4 if you have multiple NTFS drives you want to write to. Then press Ctrl+O to save the file after you’re done, and then press Ctrl+X to exit.
Step 6: Eject the NTFS drive and connect it to your Mac again.
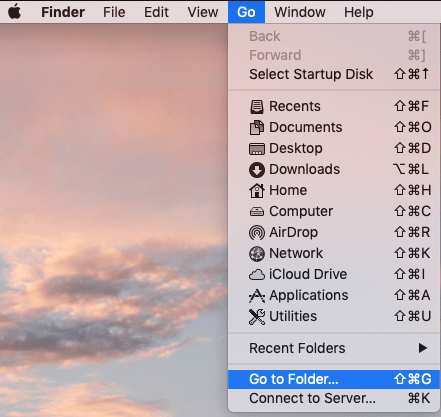
Step 7: You will notice the drive doesn’t appear in the Finder. Click on Go at the top left menu bar at desktop and choose Go to Finder.
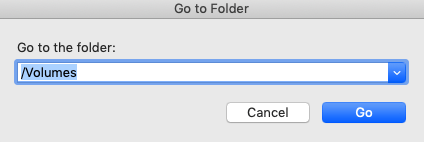
Step 8: Enter /Volumes and click the Go button. Locate the NTFS volume and access it.
To undo this change later, just repeat Step 2 to load the /etc/fstab file. Delete the entries you added for each drive, save your changes and then exit.
Read More:
- Download MacOS Catalina dmg, VMDK, and Image File
- Install MacOS Catalina on APFS Volume to Dual Boot with Mojave
Final Thoughts
To write to an NTFS drive on Mac, you can either reformat the disk to FAT or enable Apple experimental NTFS-writing support. But you will find the above two methods too much of a hassle. They are not suitable for people who have multiple NTFS drives with tons of data. So, the easiest and safest way is to use a third-party app helping you mount NTFS drives in read-write mode.
So, I hope you got everything about How to Read and Write to NTFS Drives on a Mac with iBoysoft NTFS for Mac. So, if you get any confusion or question then feel free to ask me in the comment box.