Looking to boost your Windows PC speed? then check out this article which is about 9 Simple Tweaks to Speed Up Your Windows 10 PC. Let’s get started.
As companies continue to speed up their PC hardware, so does software, and Windows 10 is not an exception. To confirm this, try and upgrade from Windows 7 or earlier, and see how surprisingly fast your machine is ready for action. However, there are other performance tweaks to consider after updating your operating system. Meanwhile, even the newest, shiniest Windows version isn’t immune to retardation.
Most times, you’ll hear a lot of Windows speedup stories telling you to turn off some of the operating system’s more fun features such as visual animations to speed up the computer. However, most of our 9 simple tweaks are a guideline on how to speed up your Windows 10 system without compromising its functionality or appearance. Fortunately, most of them are totally free, why some require spending a few dollars on software or hardware. For users with older Windows versions or low machines but want to boost their machine, a couple of tips towards the end will help speed boost system performance.
However, always avoid clicking on those “Speed Up Your PC!” ads for registry cleaners you often see on your PC as most of them lead to malware. Meanwhile, you should know that Microsoft doesn’t support the use of registry cleaners for Windows 10.
Here are our few recommendations to keep your OS version up to date. This may be too small to include below as a separate step. Meanwhile, always go to the Settings app’s Windows Update section to see whether there are any away reliability and security updates you should install. Your system might speed up after trying any of these. You can try this tweak even if you don’t want any major system update – go to the same Settings to choose the hardware driver you want to update.
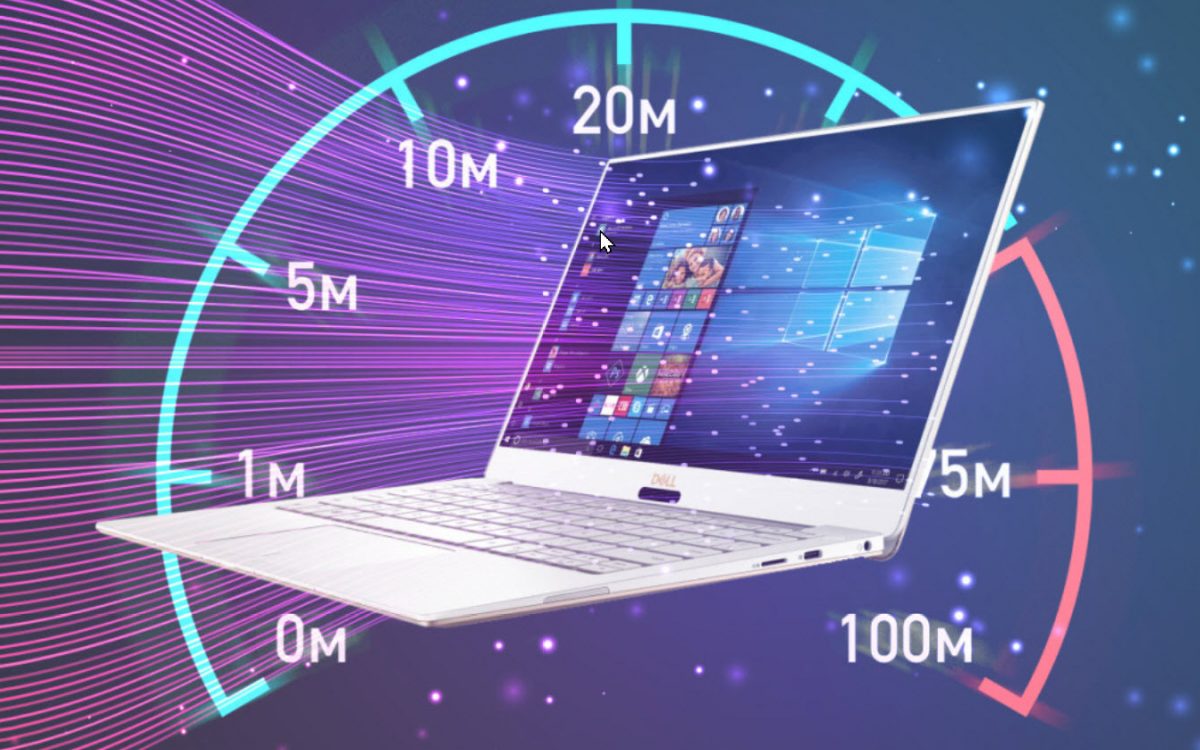
9 Simple Tweaks to Speed Up Your Windows 10 PC
1. Uninstall Crapware
Though Microsoft is trying to improve it, some unnecessary Windows pre-installed Softwares continues to be a major issue to some recent computers. A few years back, we saw a Lenovo PC with up to 20 pre-installed programs that occasionally interrupt what we’re doing with the computer. Recently, the number of pre-installed software has drastically dropped. One of the latest HP just comes with pre-installed apps, including ASUS which has only five. However, Microsoft is not excerpted in this issue, though some of them are games and reality software you may like.
However, you can easily right-click on any unwanted app tile Start and select Uninstall. Also, you can right-click on the Windows logo Start button and select Programs and Features to immediately uninstall the software. Also, you can simply type Programs in the search box next to Power Button.
Meanwhile, you can also find the perpetrators by sorting out the list of installed programs on your list. Another good option is to sort by Recent to see if any apps weren’t installed by you. You can usually find culprits by sorting the size to delete very large items you might not need. Unfortunately, this process can be time-consuming as you can only remove one at a time, so set aside at least one hour if you have a bunch of bloatware. Also, don’t forget to get rid of apps that are installed by you but are no longer needed.
Keep in mind Windows 10 has two types of applications including Modern Windows Store apps and Traditional Desktop ones. You can access them by visiting the modern Settings app’s Apps and Features page.
One of the advantages of removing apps is to boost performance as many software load processes at boot time and collect lots of RAM and CPU cycles. In the Programs and Features section of Control Center, you can also click Turn Windows Features On or Off and scan the list to see if there are any unnecessary apps in your system.
2. Limit Start-up Processes
As earlier mentioned, a lot of apps install background programs that run every time you start up your PC. Most of these programs are unnecessary to have on your computer. Unlike Windows 7 you need to run the MSCONFIG utility, Windows 10 (and older Windows 8.x) gives you a faster option to limit what runs at start-up by going to the updated Task Manager.
The simplest way to summon the Task Manager is by pressing Ctrl-Shift-Esc. Thereafter, Switch to the Start-up tab, it’ll show all the programs that load when Windows startup.
3. Clean Up Your Disk
On the Start menu, type Disk Cleanup. This will show the authentic Disk Cleanup utility that has been attached to Windows for several generations of the OS. Disk Cleanup detects outcasted junks including offline web pages, temporary files, and installer files on your PC, and offers the service if deleting them at once. Meanwhile, you may discover that your system’s recycle bin is bulging at the seams. However, this will only affect the speed of your computer if your drive space is almost full.
Also, if there’s no regularly scheduled disk defragmentation, you can set it up in Optimize Drive tool, which you can also find by typing its name in the search box next to the Start button. However, if your primary disk is an SSD, you won’t need any defragmentation since no moving parts are reading the disk.
Another good method of keeping storage use is by enabling the Storage Sense option. This will automatically free up space occupied e temporary files and Recycle Bin items by removing them.
4. Add More RAM
If you’re an old fan of Windows PC, you’ll notice that Windows 10 efficiently manages more memory than older versions. Meanwhile, more memory can always fasten PC operations. In recent Windows systems such as Microsoft Surface Pro tablets, you’ll discover that adding RAM isn’t an option. However, you’ll see business and gaming laptops that support RAM upgrades, but they’re rarely found. The latest slimmer ultrabooks and 2-in-1 laptops are usually fixed. However, top-notch RAM makers websites like Kingston, Corsair, and Crucial all offer product finder that show you the type and amount of RAM your PC needs. Above all, their prices are quite cheap.
If the provided RAM is too much, and you’re using an old computer, it’s better to go for a hard drive rather than SSD. Also, you can option using Ready boost with a USB stick. This caches data on the removable device’s storage to boost memory access that would be slower if you used a spinning hard drive. All you’ve to do is to go to the USB Key’s File Explorer entry, right-click to show properties, and finally, switch to the ReadyBoost tab to get going. For most recent computers, this tweak might not be available.
5. Install an SSD Startup Drive
It’s not that Windows Startup doesn’t work, but loading and using high demanding applications like Adobe Photoshop will be much faster with SSD. Also, in Settings’ Apps and Features Page, Windows Store programs can easily be shifted from a spinning hard drive to an SSD. One of the best and simple tweaks to speed up Windows 10 is to exchange HDD to SSD.
For faster system performance, it’ll be best to replace your internal startup hard drive. Meanwhile, if you have a laptop, this might be the best option. However, an external SSD with a USB Type-C can provide a massive speed boost in applications with large storage.
6. Check for any Viruses and Spyware
You can use an in-built Windows Defender or any third part protection app to check this. However, Malwarebytes Anti-Malware is our pick for the best malware cleanup app. Fortunately, it’s totally free in case you don’t want to spend extra cash on malware software. Also, some antivirus products have a lighter footprint on system performance than others.
7. Change the Power Settings to High Performance to improve Speed
However, it’s good to know that this isn’t a good choice if you want to save power. Meanwhile, it’ll effectively improve your Windows computing speed. Go to the Settings app’s System click the Power & Sleep option and then select the Additional power settings link. From there select the drop-down arrow on the right edge to “Show additional plans” and then click High Performance.
8. Run Troubleshooters
On the Settings app, search for troubleshooting. Thereafter, Windows will show available troubleshooting utilities you can choose, and also they can run automatically or manually. To ascertain your curiosity, run the other troubleshooters, including Hardware and Devices, Search and Indexing, and Windows Store Apps. Also, in the old-style Control Panel’s System, click Security > Security and Maintenance Page, Select Maintenance, and hit Start Maintenance. This will happen automatically on a daily routine though you can change the time it works.
9. Turn Off Search Indexing
Especially for lower-powered Windows, search indexing can consume a lot of system resources, but only temporarily. If you’re the kind of user that does a lot of searching, this won’t appeal to you as most of the searches will be slower. However, to turn off search indexing in Windows 10, click to open the Indexing Options Control Panel window. Thereafter, click Modify and uncheck specific locations you don’t want to be indexed.
However, if there’s any need to leave search indexing on, you can do that but turn it off anytime you find out it occasionally slows down your system.
Read Next:
- How to factory reset Windows 10
- Privacy Features of iOS 14
- Best video editing programs for beginners
Conclusion
A speedy computer will boost your work productivity. Upgrading your computer to the latest OS doesn’t guarantee speedy performance. There are a lot of tweaks you need to try out if you desire to have a fast performing PC. However, we’ve outlined a top 9 tweaks to speed up your Windows 10 computer. Stay glued to our page and get the latest PC tech news and reviews.