The macOS Big Sur was introduced and released in June 2020 at WWDC “WorldWide Developer Conference”. Hands down, 2020 year is the bad year for all, and all have bad experiences and those situations of COVID-19. Thanks to Apple that in this condition they kicked off the advanced and biggest operating system. Perhaps, you have installed macOS Big Sur on your primary Mac or on another platform like Virtual Machines, etc. Finally, Apple rolls out the first stable version of macOS Big Sur 11.0.1 and you can download it from App Store. Before this, you have all betas that have several bugs. But, the final version was released and you can freely install it on your Primary Mac.
Windows and Mac are one of the high-demand operating systems that have legions of users. Windows has its own users, features, updates, improvements, and many more. The same case it with Mac operating system. But the question is how to install Windows 10 using Parallels Desktop on macOS Big Sur?. However, your Mac is running the latest Apple operating system and you want to give it a try to Windows 10. Although Windows 10 is the best and easy operating system for all users. So, on macOS Big Sur you can install Windows 10 using Virtual Machine on macOS Big Sur. But, using Parallels Desktop is an easy way to complete this process.
Parallels Desktop’s latest version 16.1.1 is compatible with macOS Big Sur as both a host and guest operating system. Hands down, the current Parallels Desktop version can’t run virtual machines on Macs with the Apple M1 chip. However, Parallels Desktop 16 for Mac integrates the largest design update of Apple’s desktop OS since the debut of OS X, bringing increased graphics performance. Although a variety of new integrated features that provide customers with the best Windows-on-Mac experience ever.
Parallels Desktop to the same as virtual machines such as Virtualbox and Vmware. You can install Windows 10 on macOS Big Sur using virtual machines. All are working the same but in this article, we will install Windows 10 using Parallels Desktop on macOS Big Sur.
So, Parallels Desktop for Mac is a software that provides hardware virtualization for Macintosh desktops with Intel processors. Below are the new features of Parallels Desktop.
- DirectX 11 and OpenGL 3: Up to 20 percent faster DirectX 11 and improved OpenGL 3 graphics in Windows and Linux.
- Increased battery life: Stay productive on the go with up to 10 percent longer battery life when Windows runs in Travel Mode.
- Automatically reclaim disk space: Virtual machines (VMs) can be set to automatically return unused disk space when shutting down.
- New multi-touch gestures for Windows apps: Use the smooth zoom and rotate Trackpad multi-touch gestures in Windows apps.
- Enhanced printing: Print on both sides and use more paper sizes, from A0 to envelope.
Steps to Install Windows 10 using Parallels Desktop on macOS Big Sur
There are several steps to install Windows 10 on macOS Big Sur. But, before installation, you have to download the below required links. However, Parallels Desktop is a premier software, and to use its full features you have to buy its premier version. Although you have 15 days free-trail but if you want to use it forever then pay $79 bucks and use its full version and features.
Once you downloaded Parallels Desktop then the file will be compressed and you need to decompress the download file. Once you extract the compressed file then Double-Click the setup to launch the installation.
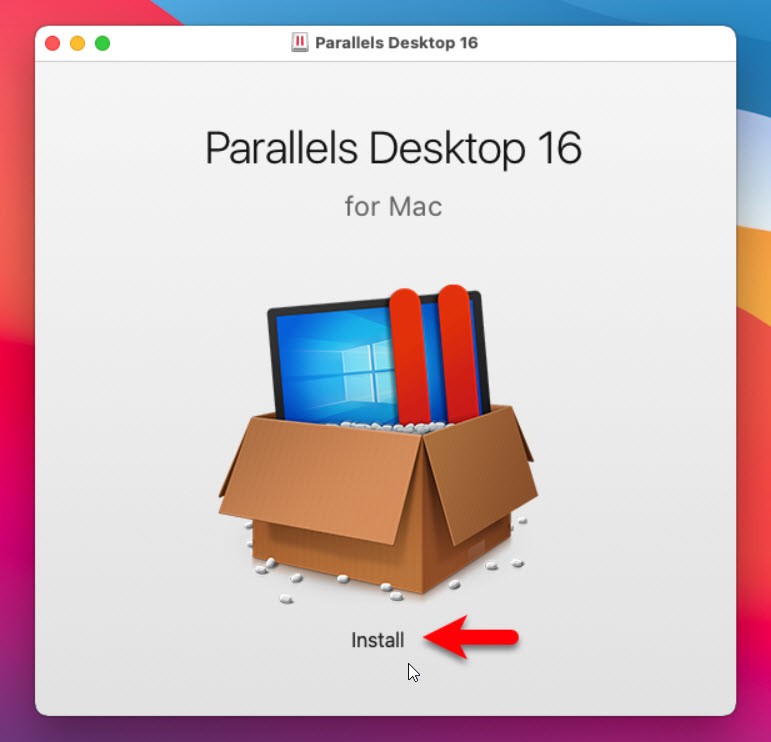
#1: On Parallels Desktop welcome wizard page, click to install button to move on.
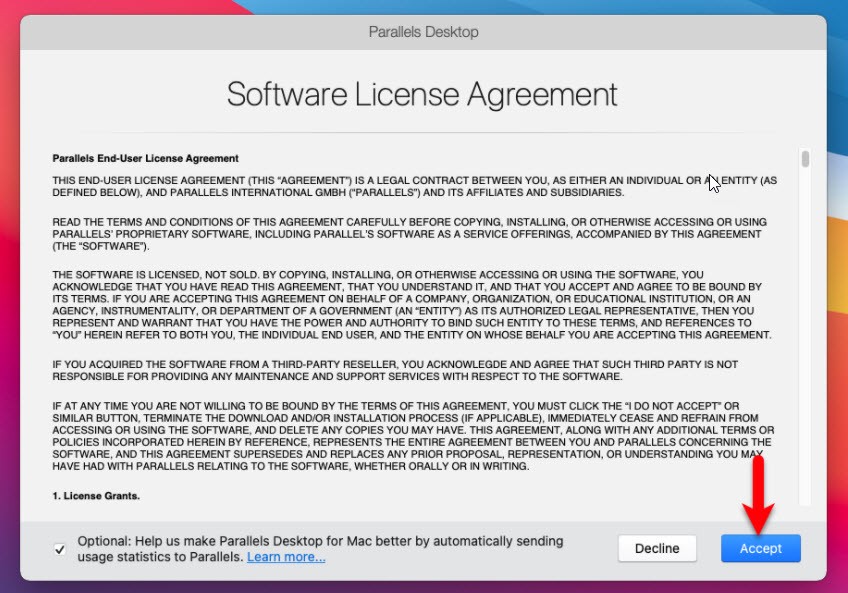
#2: Every software has its own agreements, Therefore, read the software license agreement and click on the Accept button.
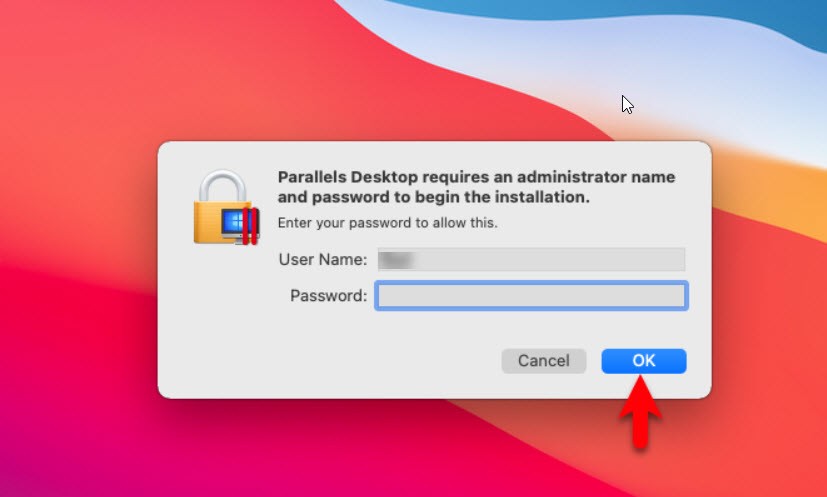
#3: To begin the installation you have to enter the username and password then click Ok.
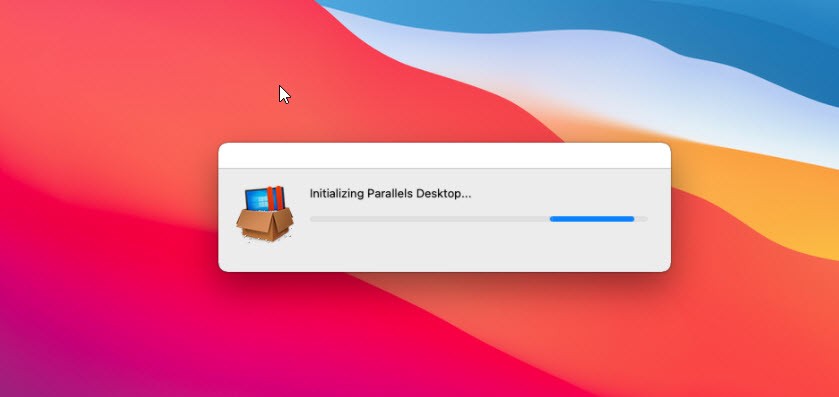
#4: Here it will initializing the Parallels Desktop. So, wait for a while.
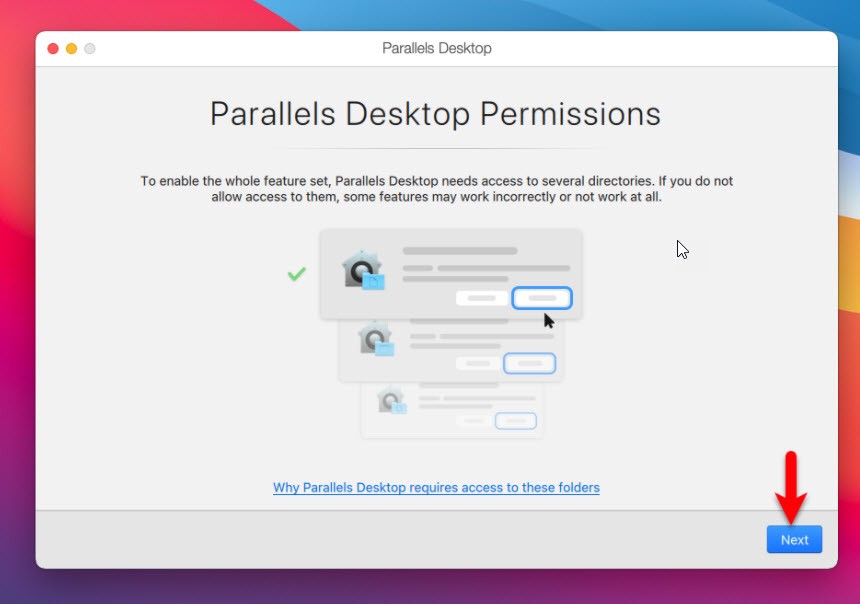
#5: On this page, Parallels Desktop needs your permission to access several directories. This will help you to have full features set.
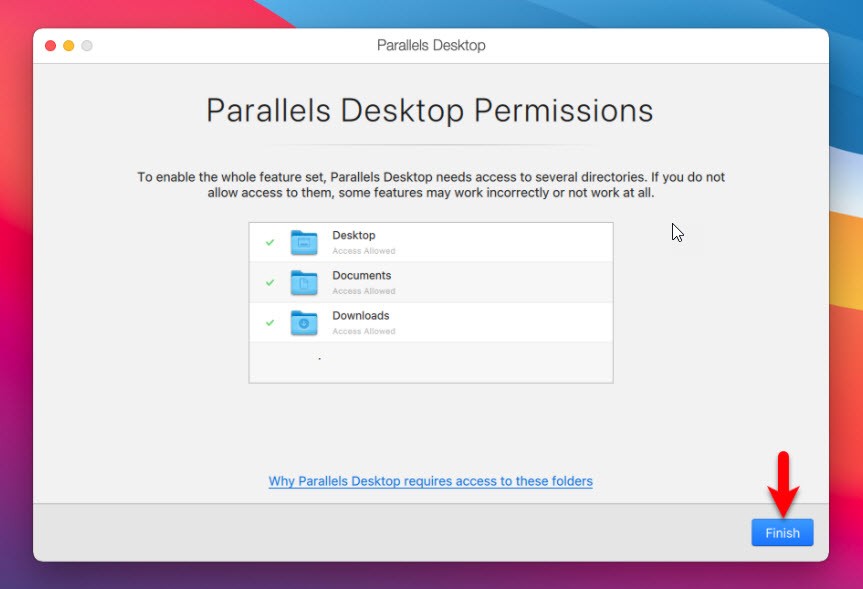
#6: Simply click the Finish button.
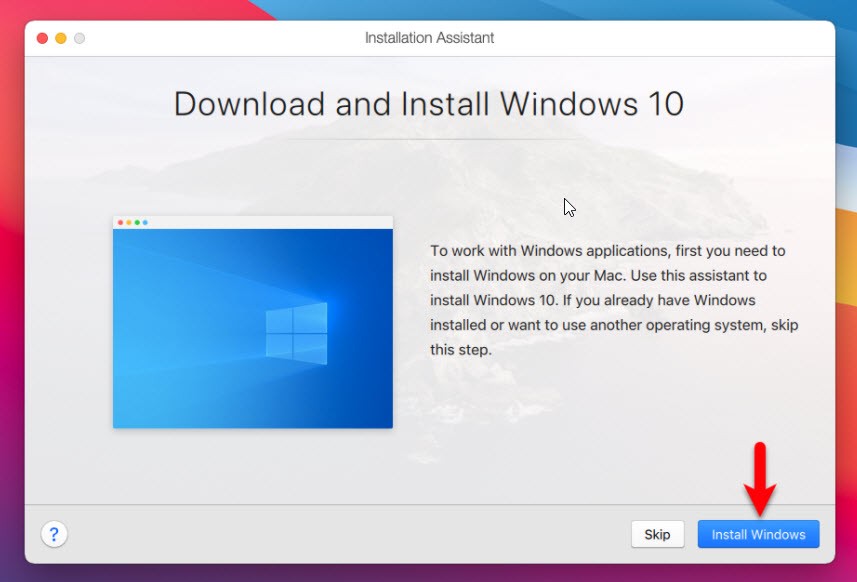
#7: When the Parallels Desktop installation finished then automatically the Parallels desktop will open. So, to work with Windows applications first you need to install Windows 10 on your Mac. Therefore, click on the Install Windows button.
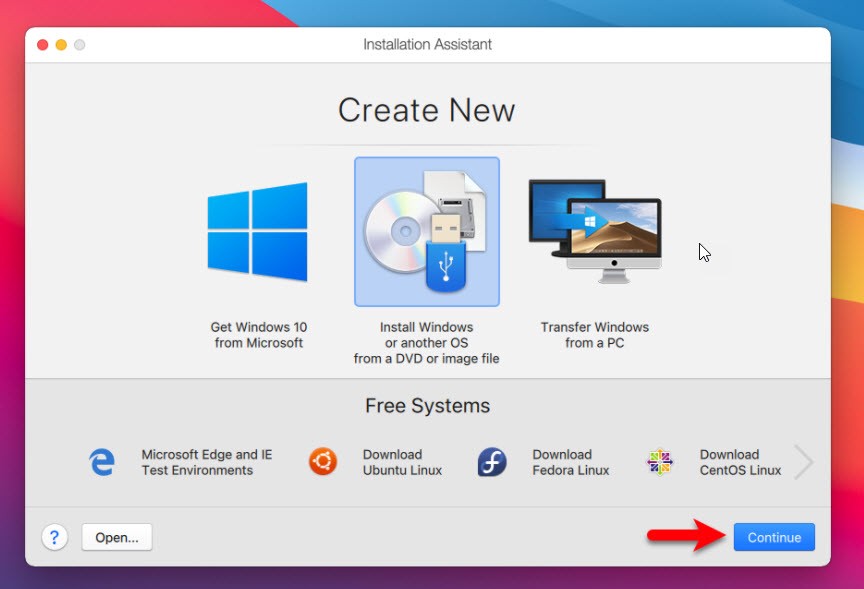
#8: Here, you have three options to install Windows 10. Whether you can get Windows 10 from Microsoft via the internet or you can install Windows from a DVD image file. Even you can transfer Windows 10 from a PC. But, we will go with the second option because we have the Windows 10 installer file as you downloaded from this article. Once you select the second option then click on the Continue button.
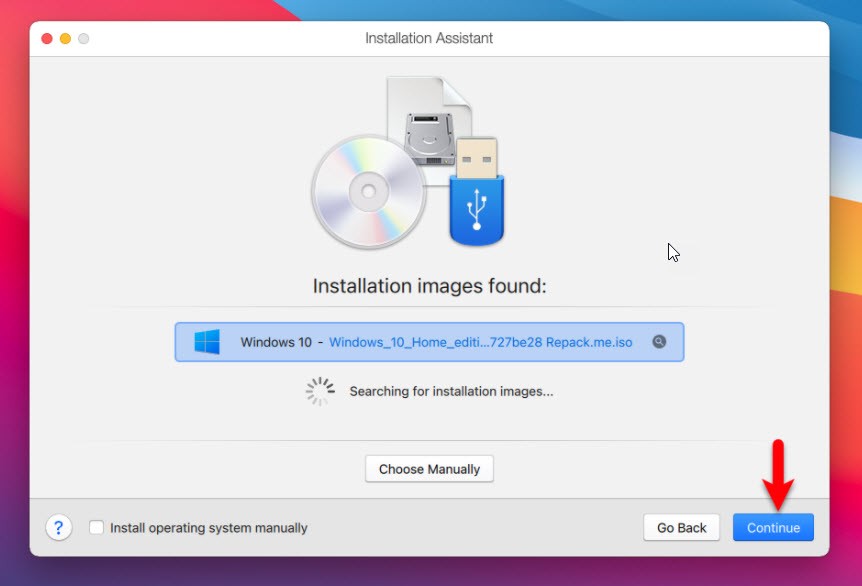
#9: It will automatically search for Windows 10 image files on your Mac computer. Once the image file is detected then click Continue.
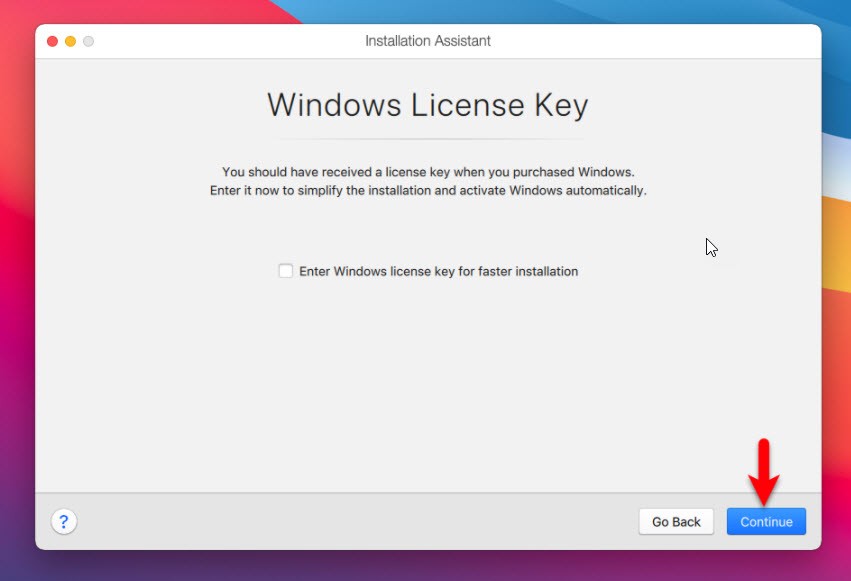
#10: Here, it will ask you to enter the Windows 10 License Key. If you don’t have then simply click on Continue.
#11: The specified Windows image edition contains multiple editions. So, select the Windows version and click Done.

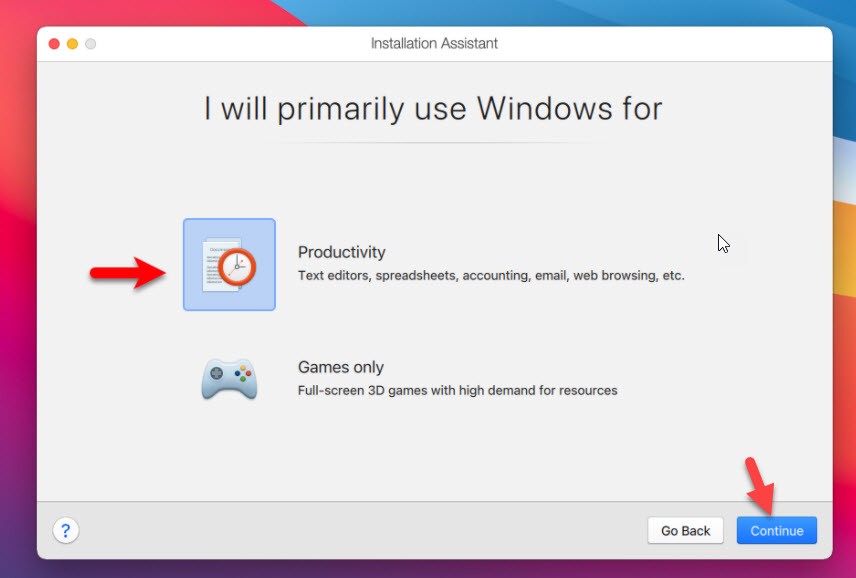
#12: You have 2 options to continue with Windows 10 whether Productivity or Games only. But, we will select the Productivity and click Continue.
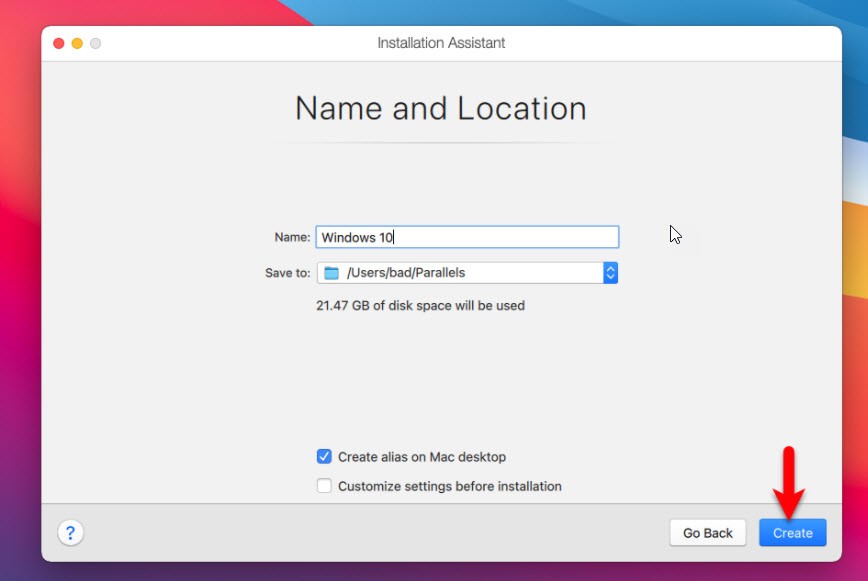
#13: Now, select the name and destination location and click create.
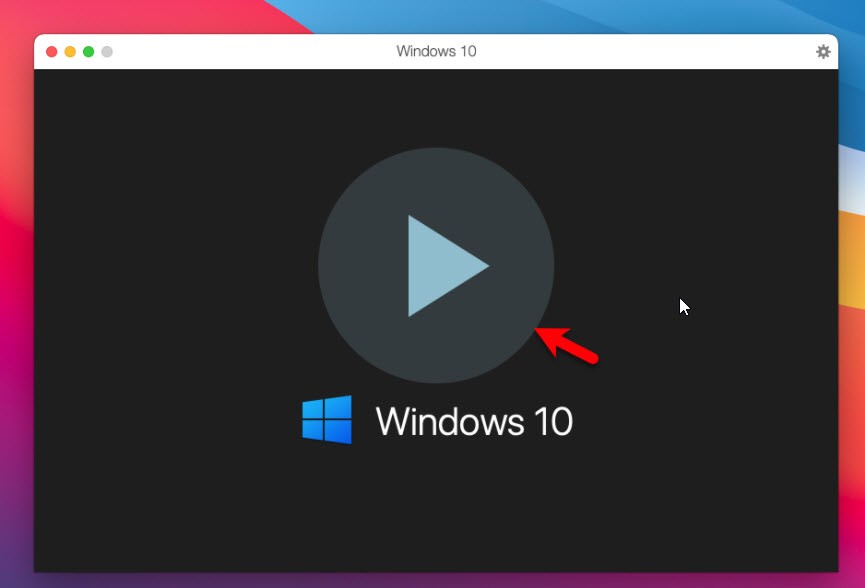
#14: While the Parallels machine creates then click on the Play button.
#15: This will be the last step to continue the installation of Windows 10 using Parallels Desktop on macOS Big Sur. But for that, you need to sign in with a Parallels account. Perhaps you are new and you have to create a new account by entering your “Email, Name, Password, and Confirm Password”. Then click create an account.
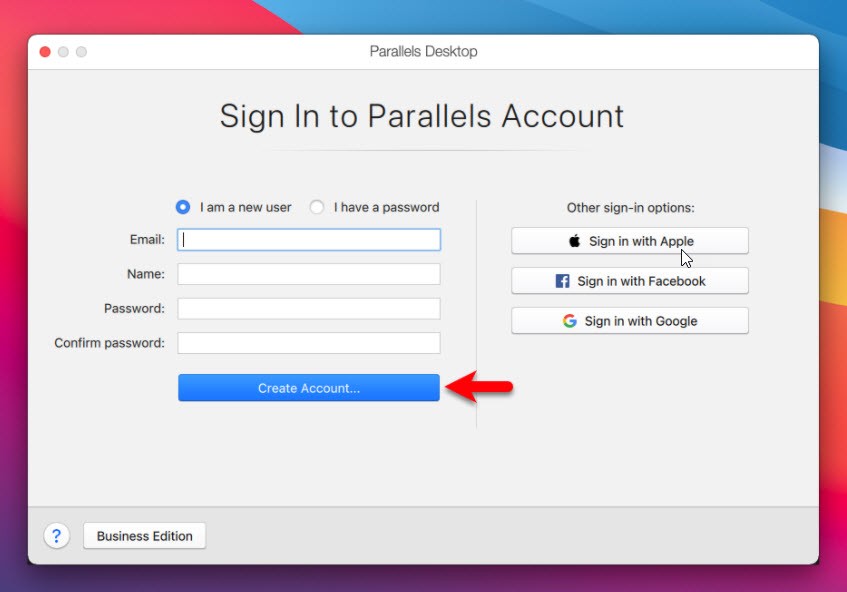
After creating Parallels Desktop account then sign in and complete the Windows 10 installation. You might know the installation procedure. However, without siging in you can’t install Windows 10 operating system. Therefore, sign in and continue installation.
Read Next:
- Install macOS Big Sur on Unsupported Mac Device
- How to install macOS Big Sur on Separate APFS Volume
- Install macOS Big Sur on Virtualbox on Windows
- Install macOS Big Sur on Vmware on Windows
Conclusion
This was the steps to install Windows 10 using Parallels Desktop on macOS Big Sur. The steps are easy and you can easily install it on your Mac. In case, if you have any question then feel free to ask me in the comment section.